Link to this free addon -http://bit.ly/3PLsRYY
Google has opened an API for maps and now you can download even an entire city or natural landscape in varying degrees of detail for your projects.
Link to this free addon -http://bit.ly/3PLsRYY
Google has opened an API for maps and now you can download even an entire city or natural landscape in varying degrees of detail for your projects.
Displacement has finally arrived in Unreal Engine 5. You can do it at the material level and apply it to both objects and endless landscapes.
The geometry of Displacement is not created in the same way as that of Nanite, although it is called the same. Due to this, the geometry created by displacement does not affect the reflection angle and highlights, so it is better to apply a normal map to the material. And also, for me personally, the computer freezes severely if you move the IC near geometry with displacement. Most likely, it will be fixed in future versions.
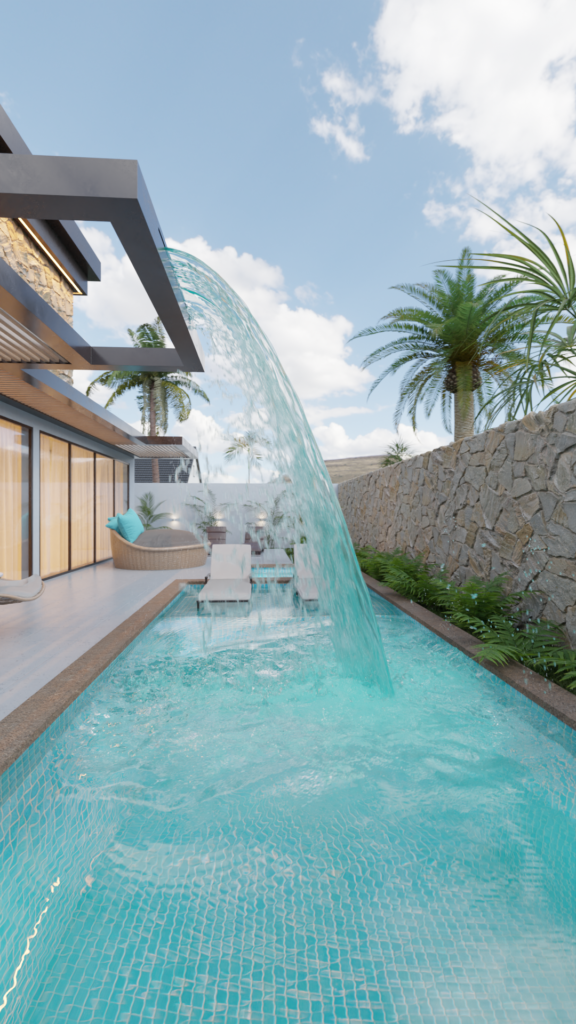
The goal is to make 10 seconds of highly detailed fluid simulation for a close-up shot at 60 frames per second.
After spending about a day experimenting and comparing MantaFlow with Flip Fluis, I chose the latter, as MantaFlow behaves very unpredictably, depending on the resolution.
I figured that the water would reach the surface of the pool in 50 frames + you need 10 seconds of the animation itself at 60fps, which results in a simulation of 650 frames with a resolution of 150 million voxels. This simulation on the Ryzen 3700x took 5 days.
Further it turned out that the blender crashes in the render if the geometry in FlipFluids is too high polygonal. I really didn’t want to do the simulation again at a lower resolution and wait several days again. I spent a couple of days looking for a solution to the problem, and even began to think about returning to MantaFlow.
I reconfigured the scene from Cycles to Octane Render, the problem persisted, so I decided to return to Cycles.
Blender, in general, handles a large number of polygons very well, the problem is with the FlipFluids geometry. The addon developers admit the problem on their GitHub and write that it is on the Blender side as it does not work well with HighPoly geometry made in Python or something like that.
I decided to try exporting the geometry to Alembic so that I could then import it back, so there shouldn’t be any problems with it. I tried to export in different ways, but it always ended with the blender crashing. One export even took more than a day.
Then on an American forum I found a solution where it was said that in the geometry before exporting you just need to swap the modifiers and put the Smooth modifier down, after which the FlipFluids geometry was quickly exported to Alembic. It worked. I exported the geometry to Alembic, hid the original FlipFluids geometry from the render and viewport, but left the bubbles and foam, and imported the Alembic geometry.
I was pleasantly surprised that the Alembic geometry retained the speed information and MotionBlur on the water worked correctly and the scene no longer crashed. More precisely, it didn’t take off immediately, but a little later.
I launched the render, it crashed only the next day, after about a hundred frames. It’s normal, you can live, I just restarted the render from where it stopped.
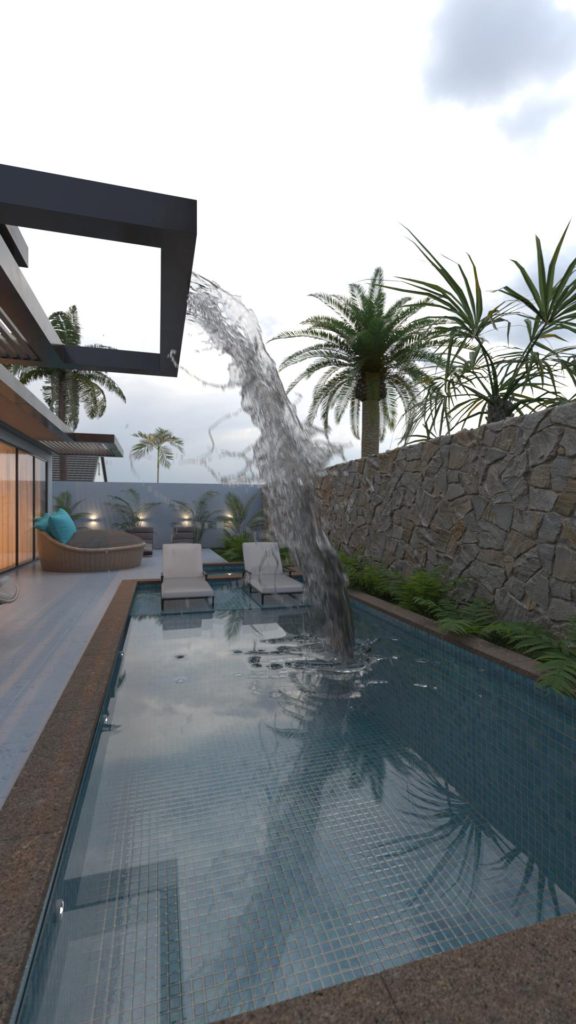
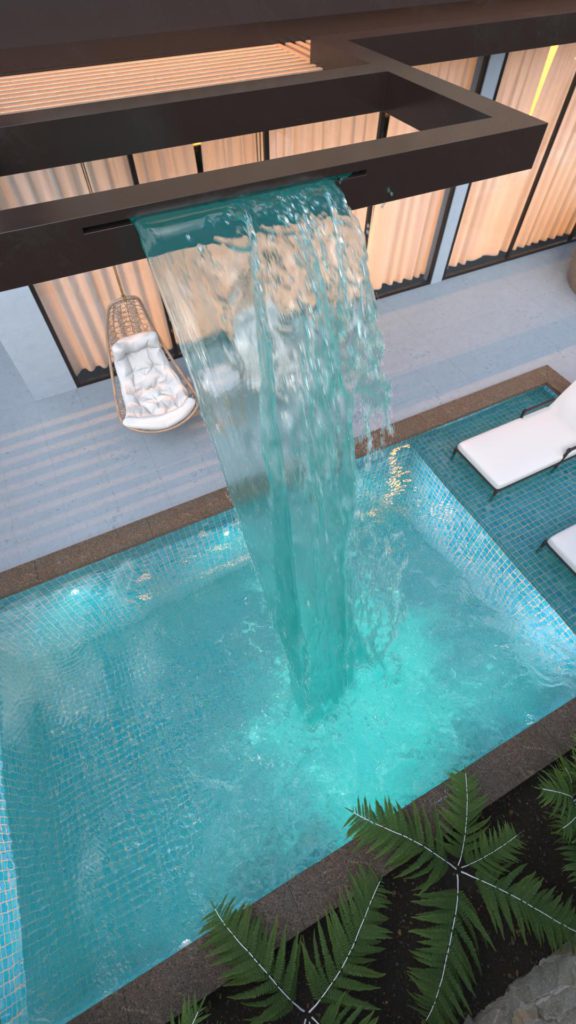
At the point of contact of the jet with the surface of the water, the liquid looks dark. Not a “blue lagoon” at all. The problem is the limitations of PathTracing technology. In this place there is a huge number of reflections and refractions from the surface of the water and bubbles, and the renderer counts a maximum of 12 reflections, and then draws blackness. You can, of course, set not 12, but 128, 1024, etc., but then we will wait months for the rendering result. Therefore, I added turquoise self-glow to the bubbles and 10 times less of the same self-glow to the water itself. The jamb is gone, the render time has not changed. I render from the beginning. At the same time, I decided to start not from frame 50, but from frame 100, where vibrations are already visible on the surface of the water. I also added brightness to the light sources and a little fog to the water.
After some time of testing, I noticed that in Blender 3.5, the scene behaves much more stable than in version 3.6, so I decided to continue working in it. Materials with the Mix card had to be reconfigured, because in version 3.6 it works differently, and the first frames will have to be re-rendered, because now some materials look a little different.
Another day later, I looked at the first seconds of the resulting animation and noticed that the plants were not swaying in the wind the way I had planned, there was no texture on the branches and the grass was missing. The problem is that I did the project on a laptop, and the simulation and rendering on a PC, and on the PC on version 3.5, there was an old version of vegetation addons. Reinstalled the vegetation addon, reconfigured the vegetation. Reinstalled the plugin for grass, reconfigured the grass. I set the animation to be rendered again.
I discovered the Batch Render Creator program, thanks to it, the number of crashes during rendering decreased even more.
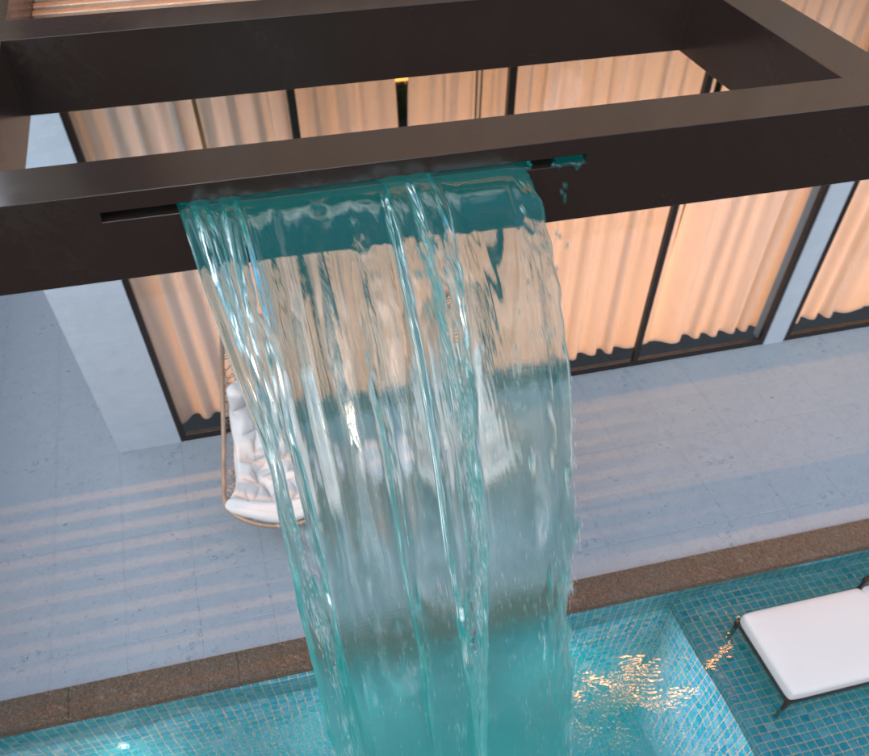
The self-glow from this angle, near the dark crack where the water flows out, doesn’t look very good. Unfortunately, blender does not have a Distance map, which is available in 3ds Max and Corona, so you will have to render the version without self-glow again and mix them in AfterEffecs so that there is no self-glow in the area of the gap, but there is in other places.
There were also other problems, for example with the camera position, because I shifted the start of the animation from frame 50 to frame 100, and I also had to re-render some of it. And I had to tinker with Geometry Nodes to cut off the bottom near the water, since I did not do the simulation for the entire depth of the pool.
In response to potential critics who have never done anything like this, but believe that in Houdini or PhoenixFD there are fewer problems and everything can be done faster, I suggest that you first make a 150+ million voxel simulation and render it on the GPU along with animated vegetation and displacement, and then write down how long it took you and what nuances and incompatibilities you encountered.
They bought me my first computer in 2002, I was 12 years old. In about a year, games stopped being interesting to me and, having saved 60 rubles from school lunches, I bought my first disc with 3ds Max 6. In 2003 and until 2006, I did not have the Internet. All that was there was the program itself. And every time I started the computer, first of all I launched 3ds Max and studied it “by scientific poking.” First 500r. I started working on 3ds Max in 2006 at the age of 16. They paid me for the visualization of a nightclub in my city of Ivanovo. Unfortunately, neither this render nor the others have been preserved, because... in 2007, the computer’s hard drive collapsed along with all the information. since 2007, the works have been preserved and here, for example, are a couple of works from those times.
https://vk.com/album2903316_71222494

Then I worked at a game studio, then at the distributor Autodesk, then I taught courses on 3ds Max and made projects in it. From 13 to 32 years old, my life was closely connected with this program. But it’s been a year now that I’ve been doing all my projects in Blender, and on my work computer, 3ds Max isn’t even installed, and here’s why:
As you can see, all these points save a lot of time and remove unnecessary “hemorrhoids”. But there are also disadvantages.
For me, the pros greatly outweighed the cons. And over time, it seems to me, the last two disadvantages will disappear.
PS If you tried blender and it seemed to you that it was slower than 3ds Max, make sure that you are running it on a discrete video card and not on the built-in one.
If you want to try out what Blender is and test its speed and usability, I recommend checking it out this video tutorial, everything there is short, clear, to the point and without water.

Lesson on working with textures
We even out the tone of the texture to avoid obsessive repetitions of “frequency decomposition”
0. Open the texture in Photoshop
1. ctrl+j
2. Filter – Blur – Average (Filter – Blur – Average)
3. Double click on “Background” - OK
4. Background on the top layer
5. Opacity of the Background 50% layer and the “Linear Light” blending method
6. Filter – Other – Color contrast set to (50-100) (Filter – other – High Pass)
7. Combine the layers Filter – Other – offset (Filter – other – offset) and shift the texture by eye so that the seams are visible in the center.
8. Cover the seams with a Stamp or remove them taking into account the contents.
Screensaver for the screen on the stage of the hall in Mosfilm
This is what the task looked like:

This is what the versions looked like from initial to final:
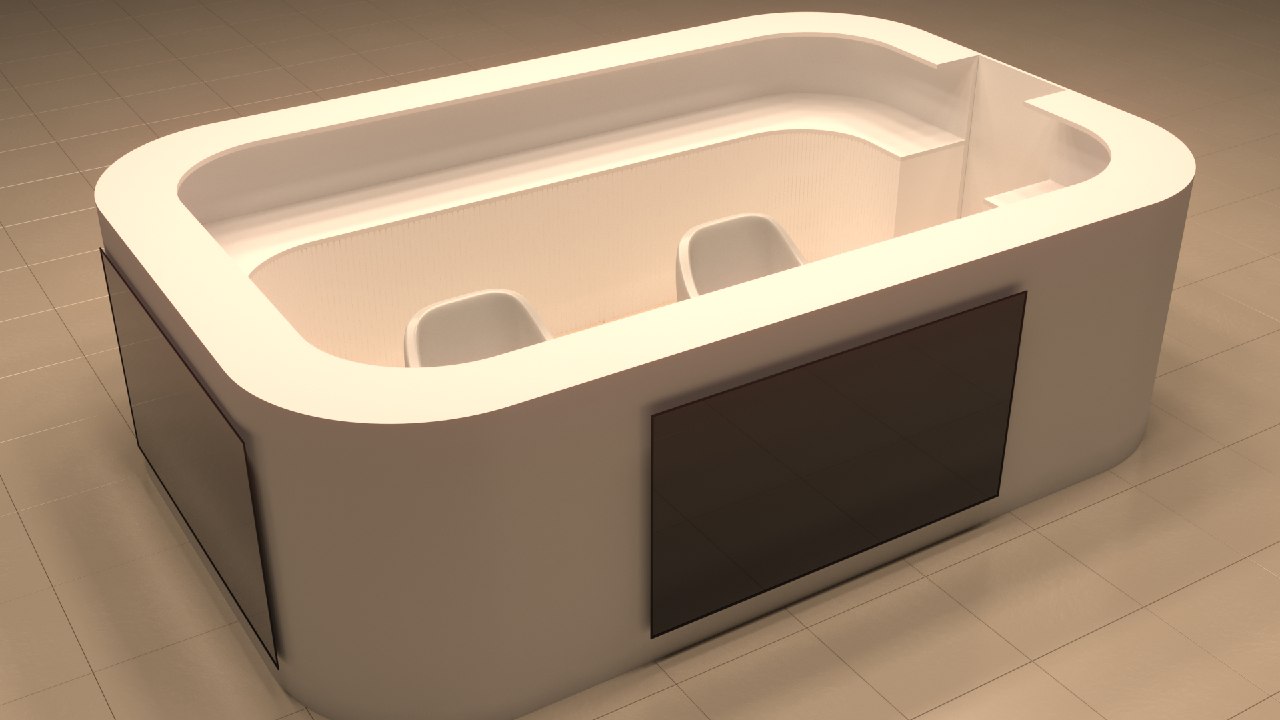
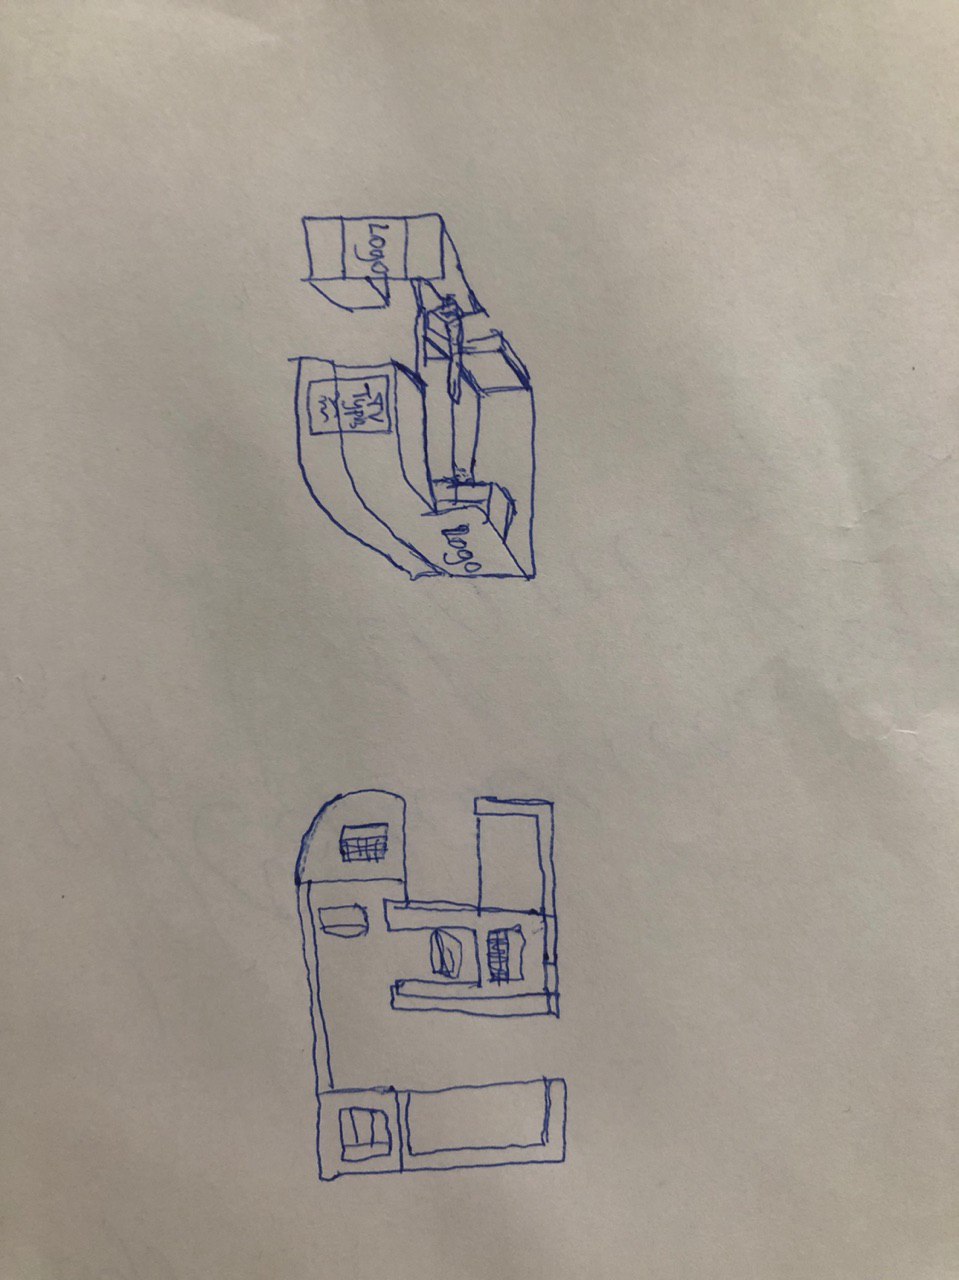
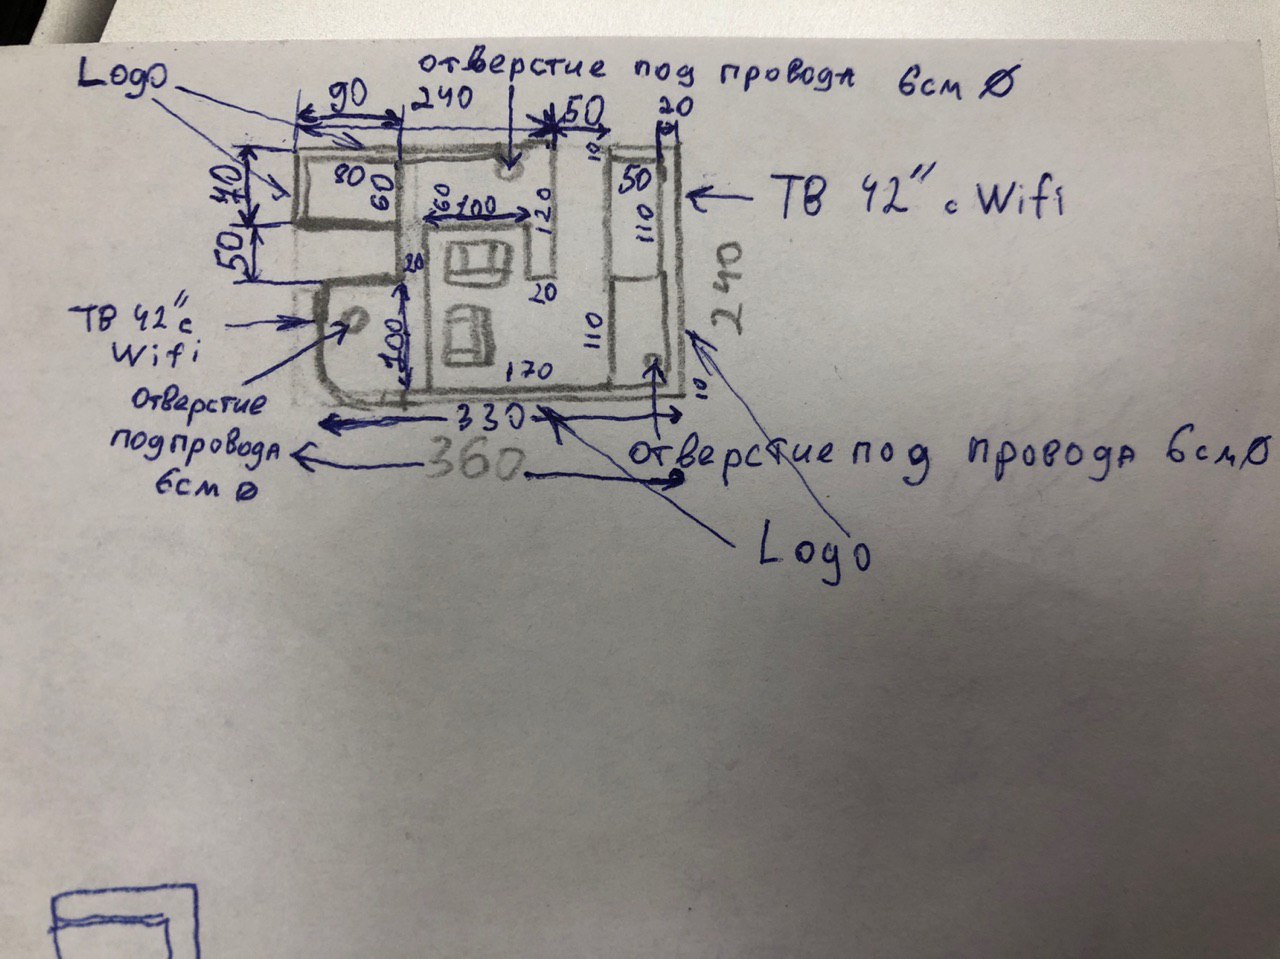
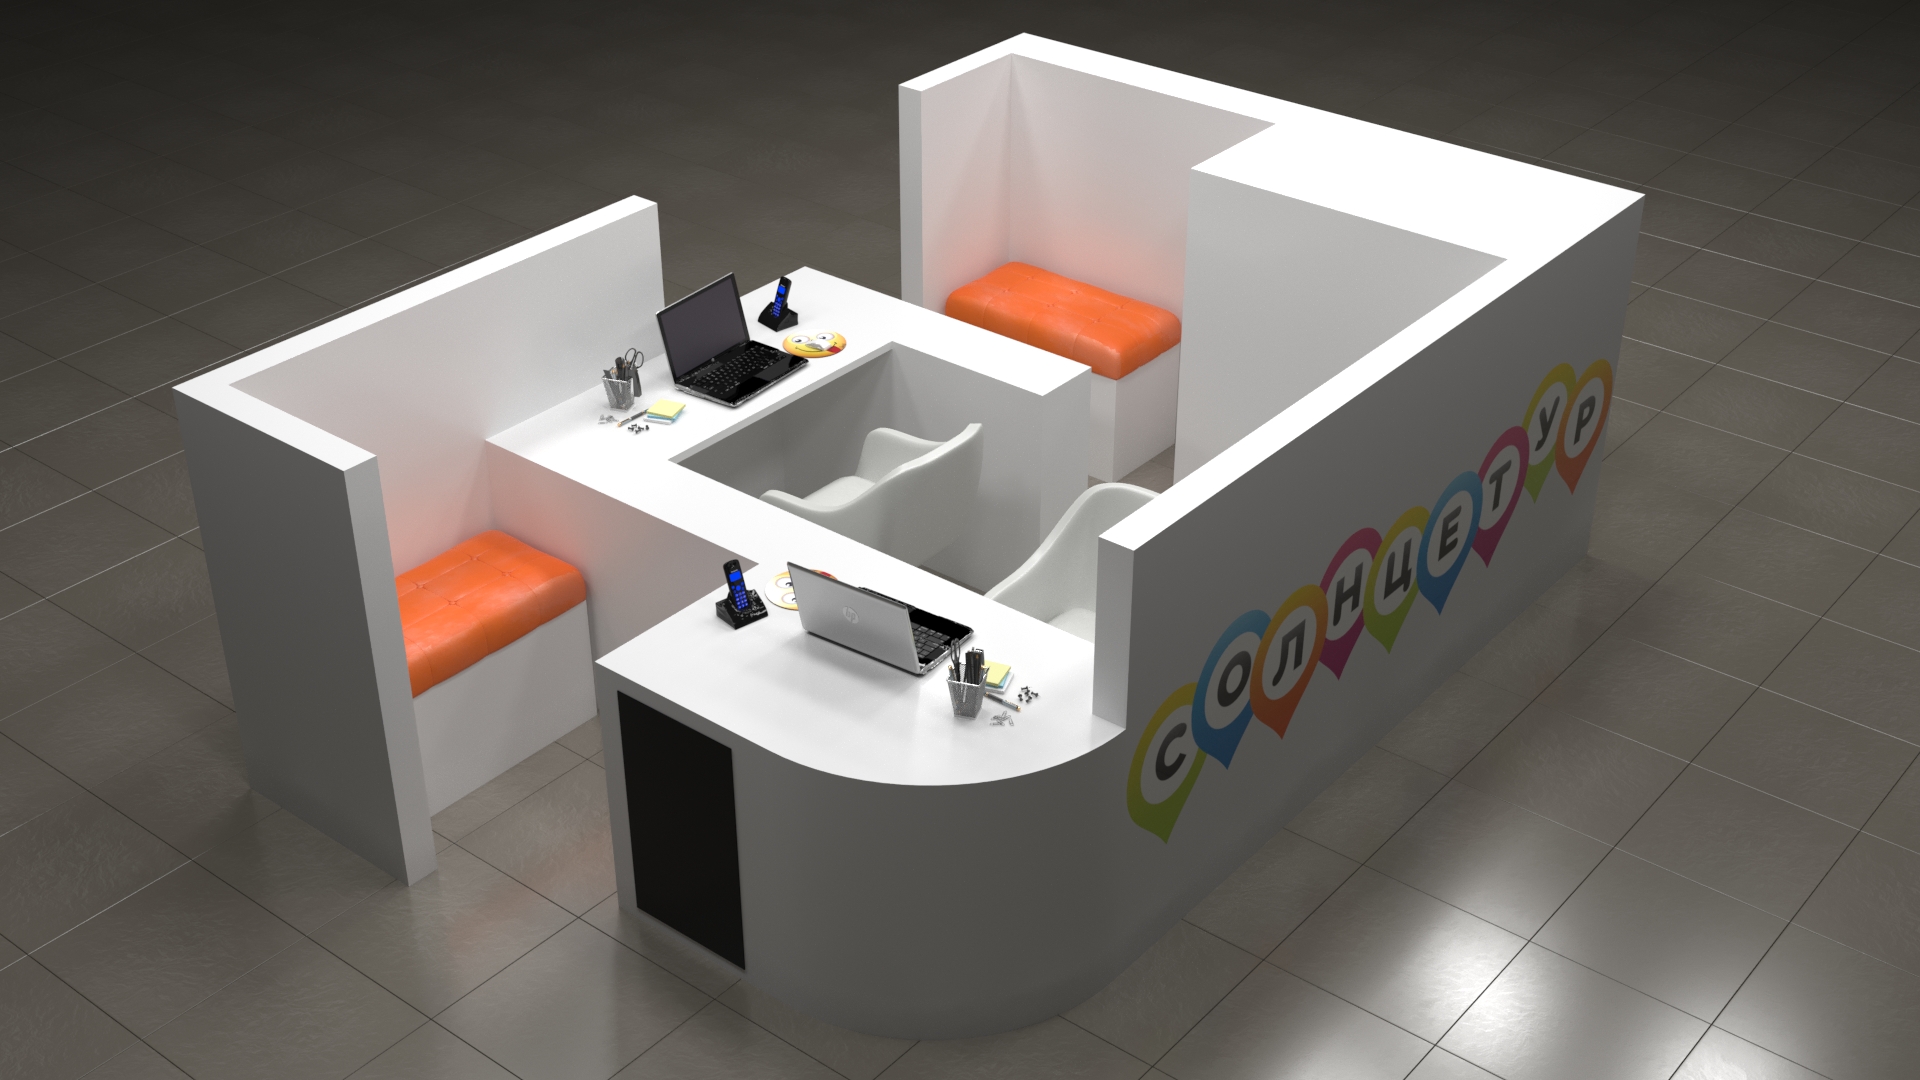
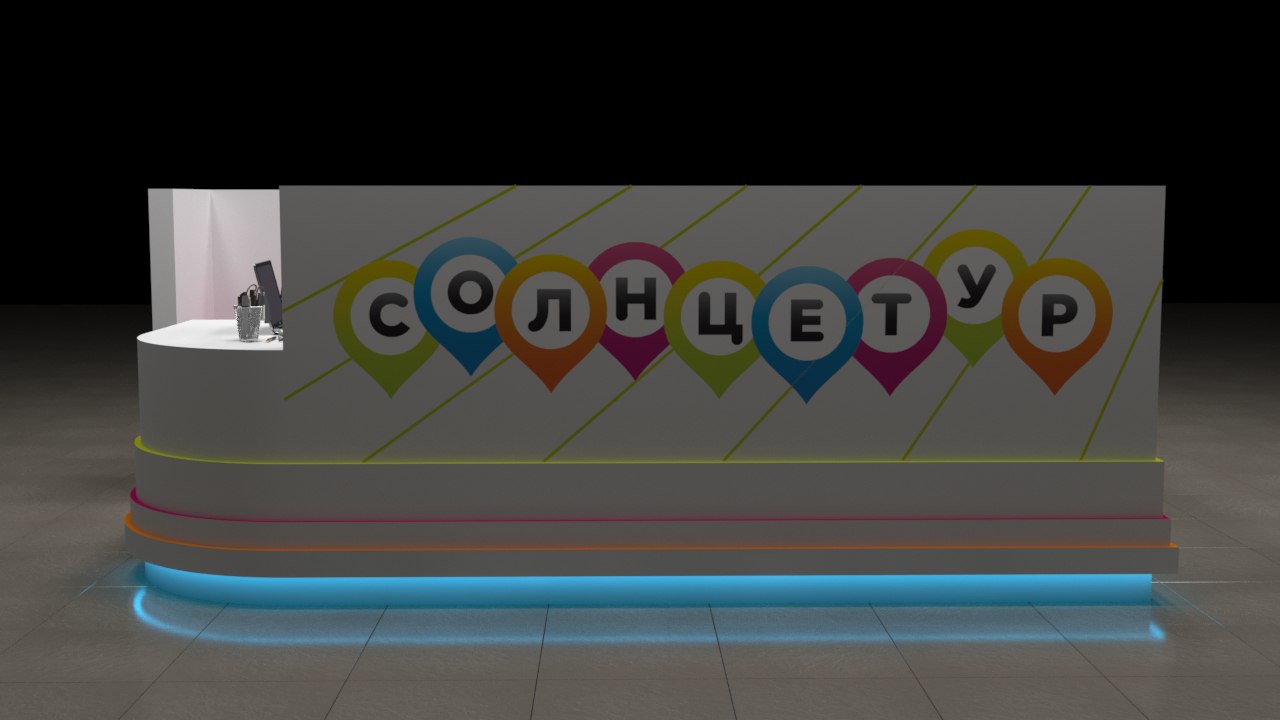
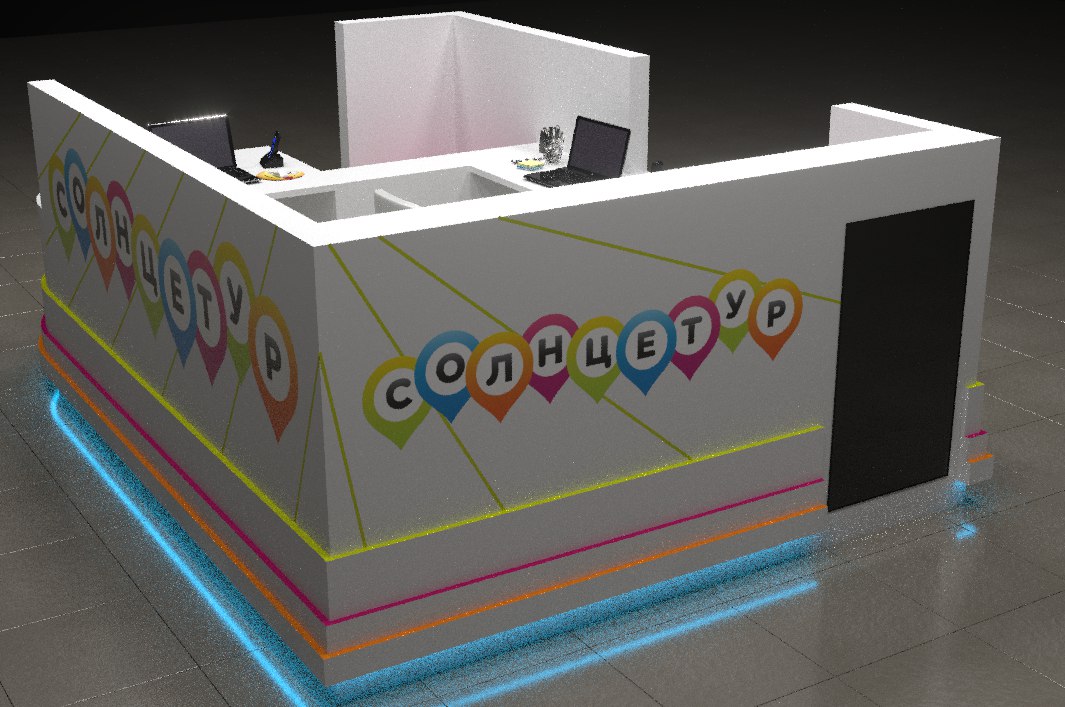
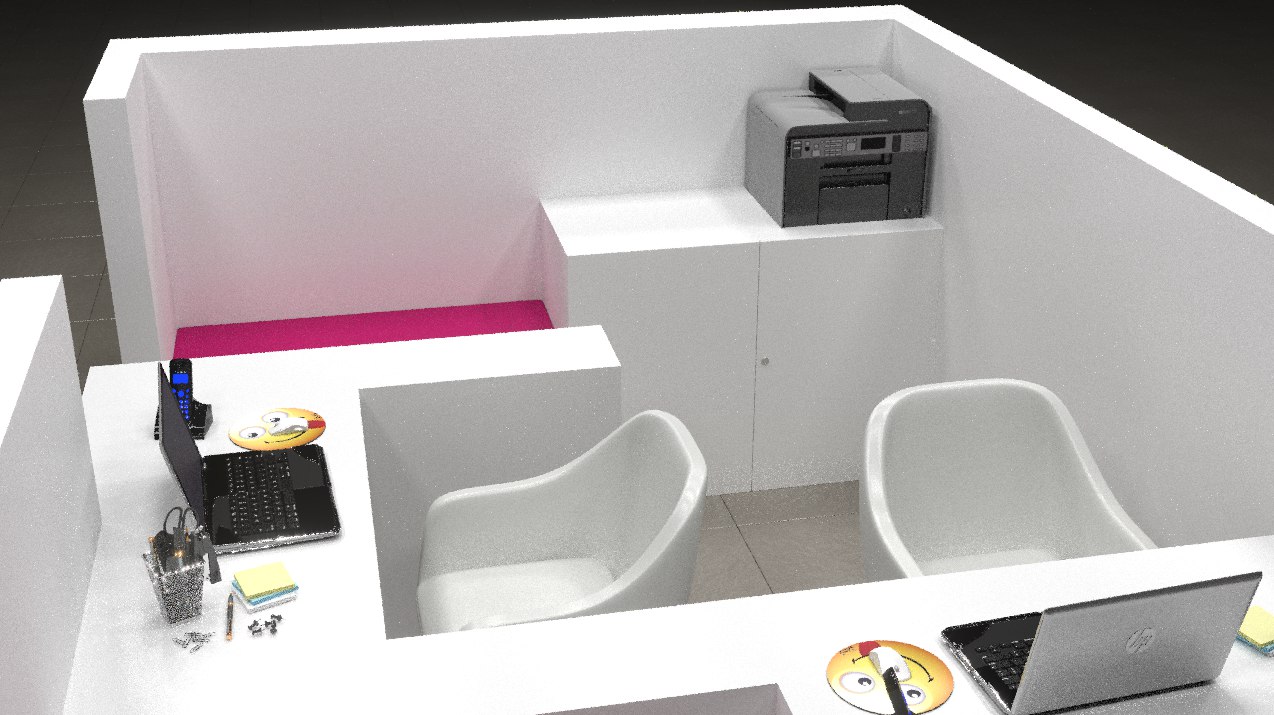
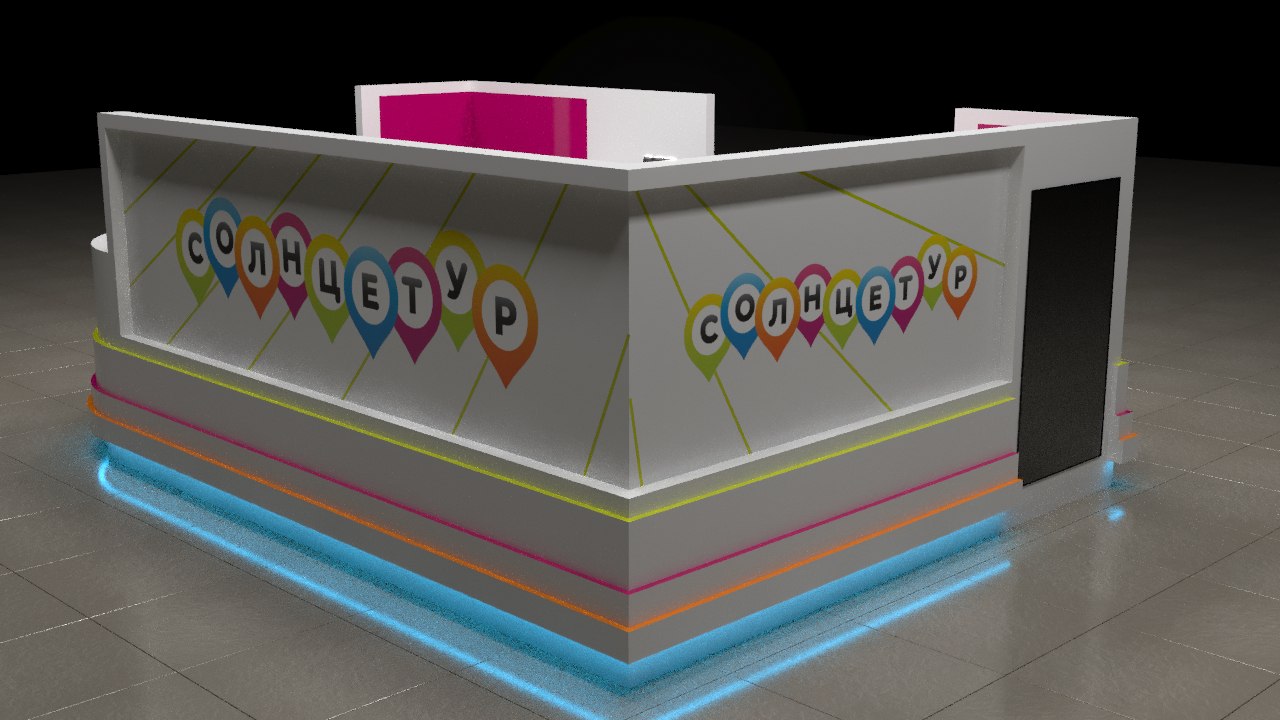
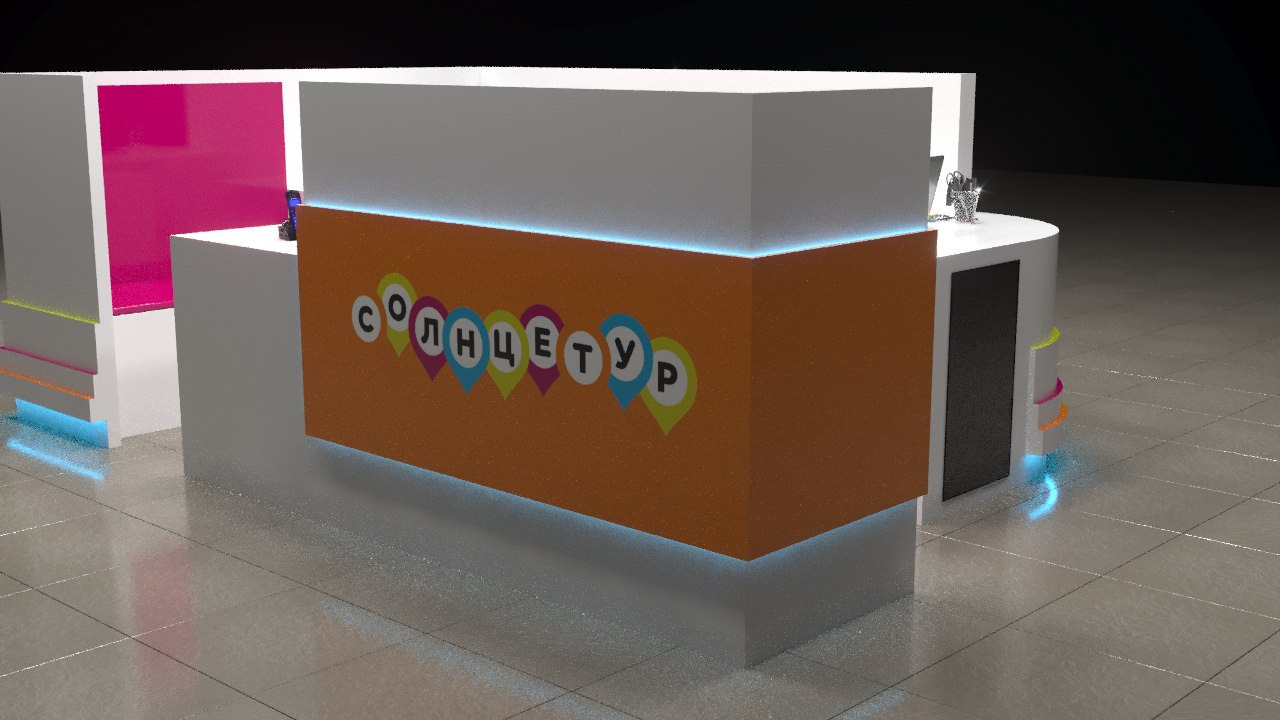
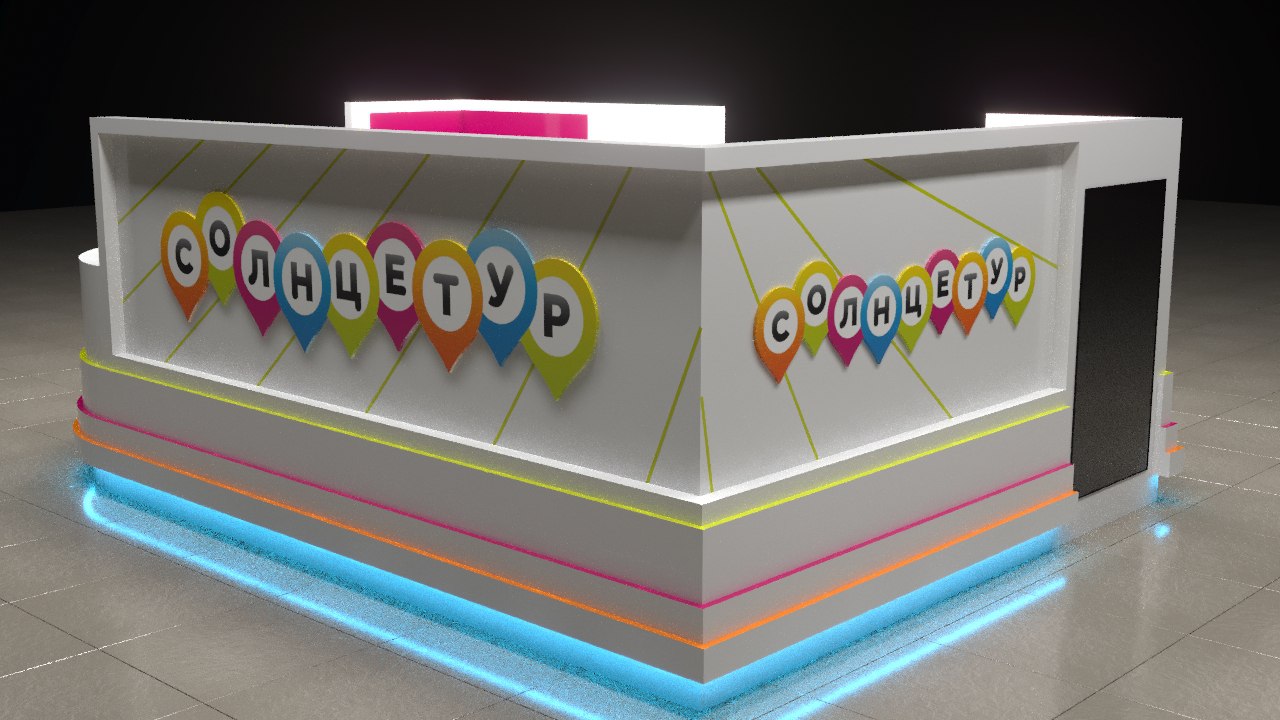
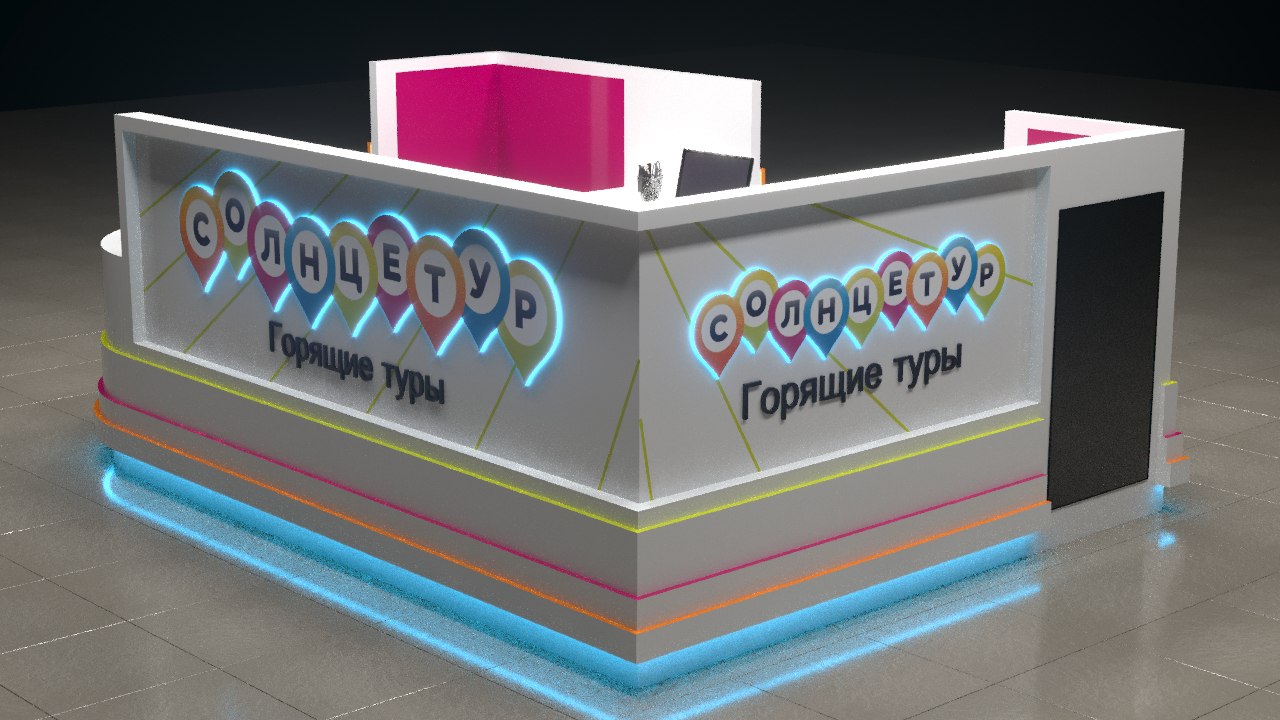
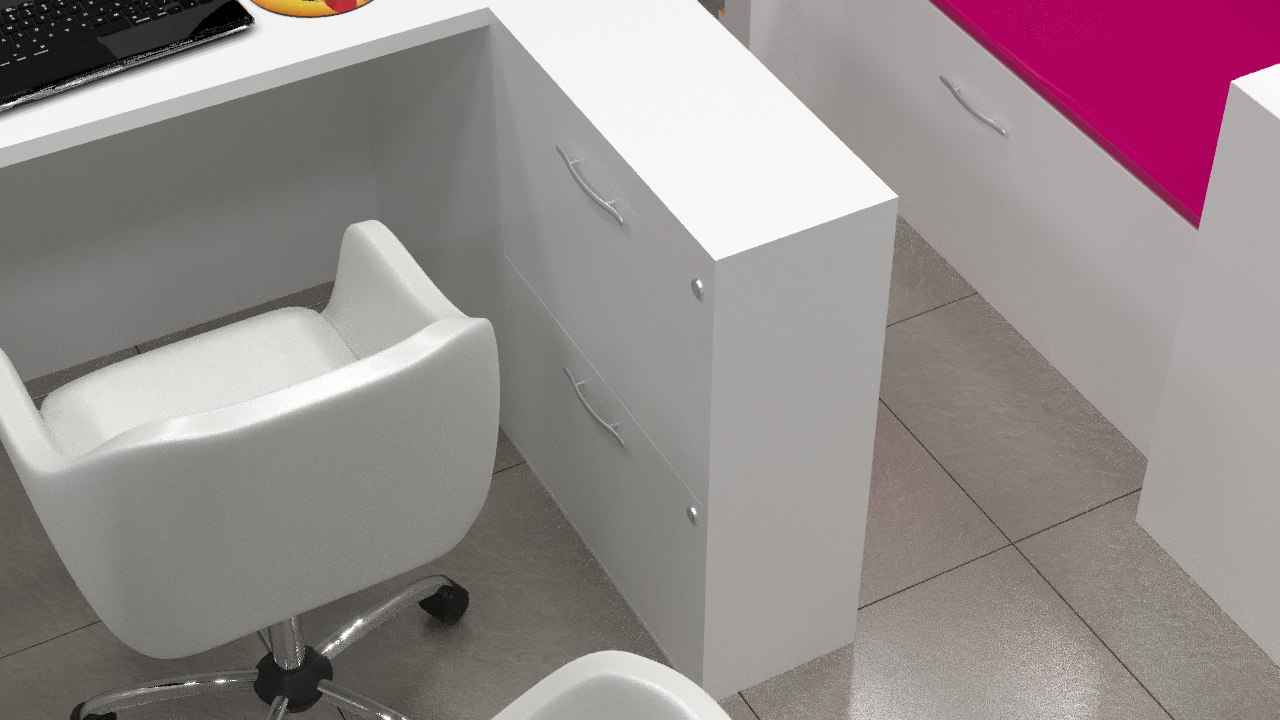
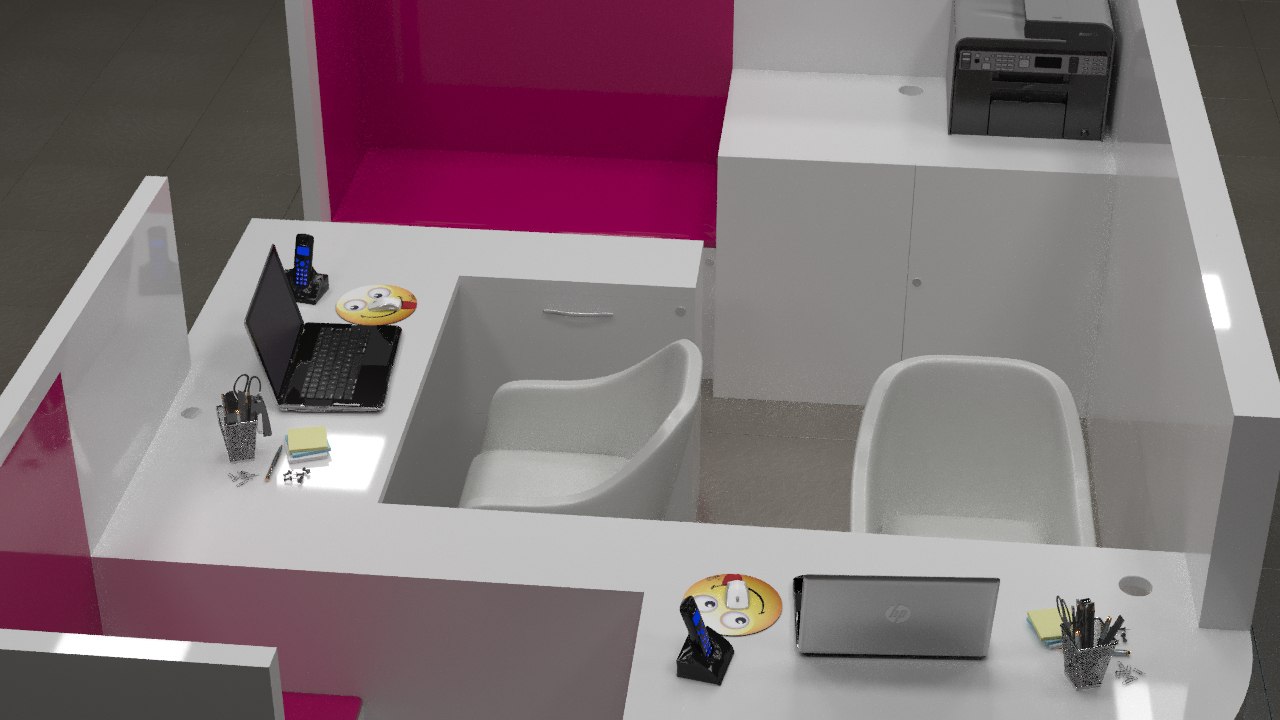
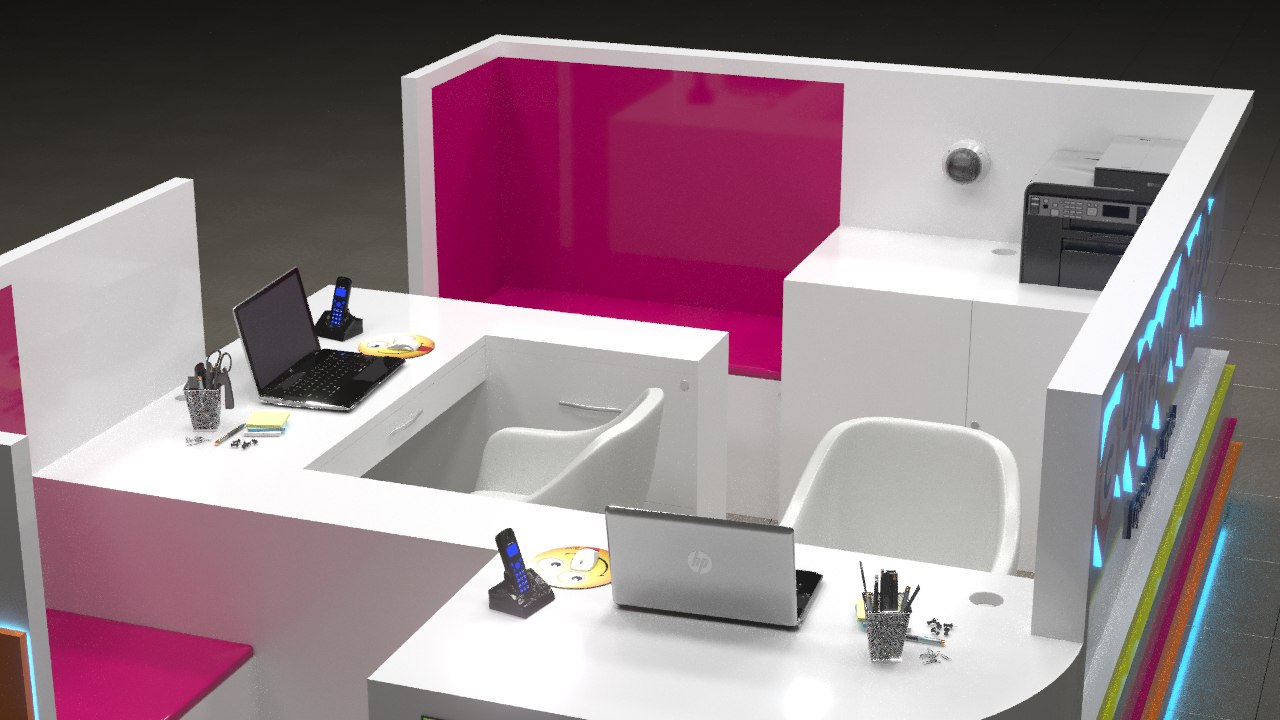
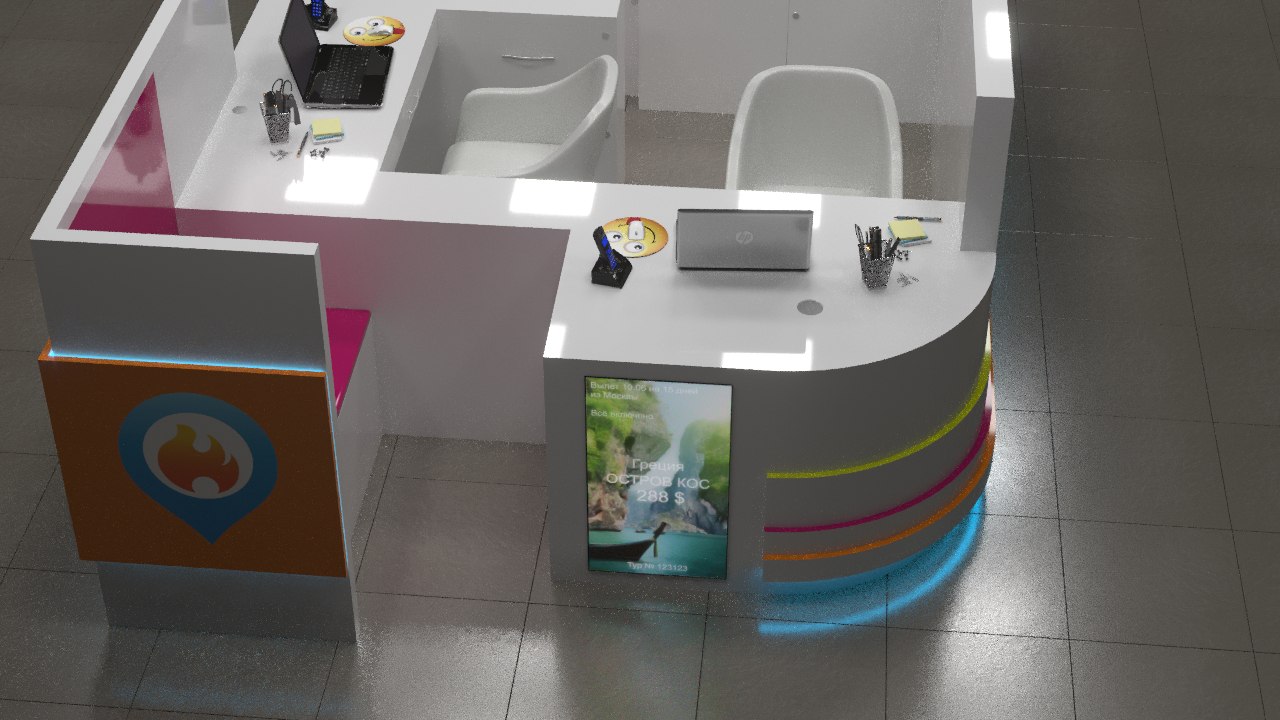
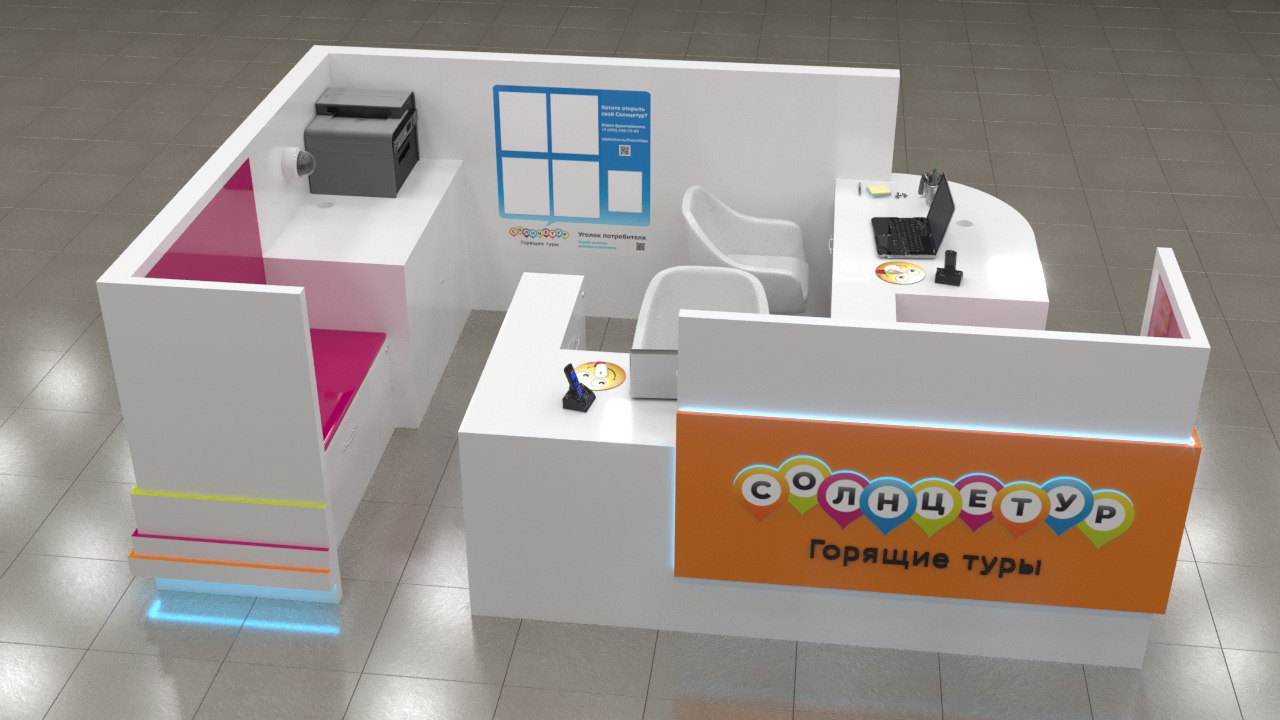
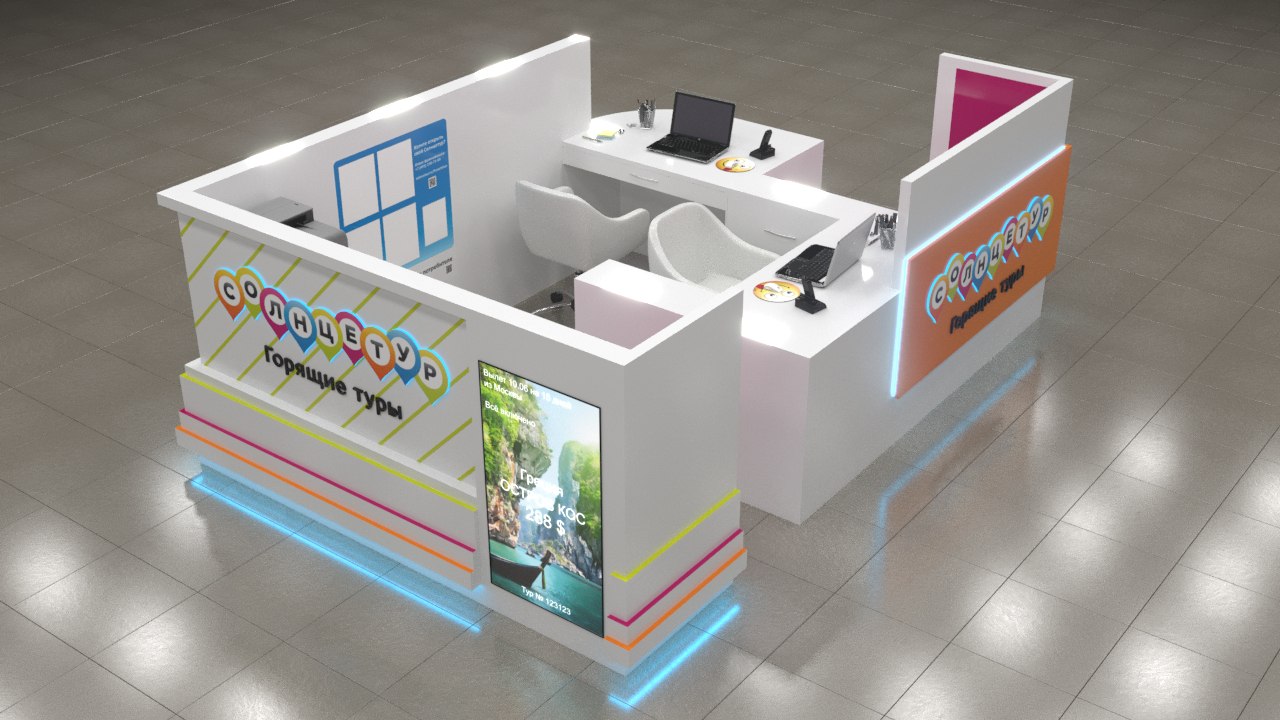
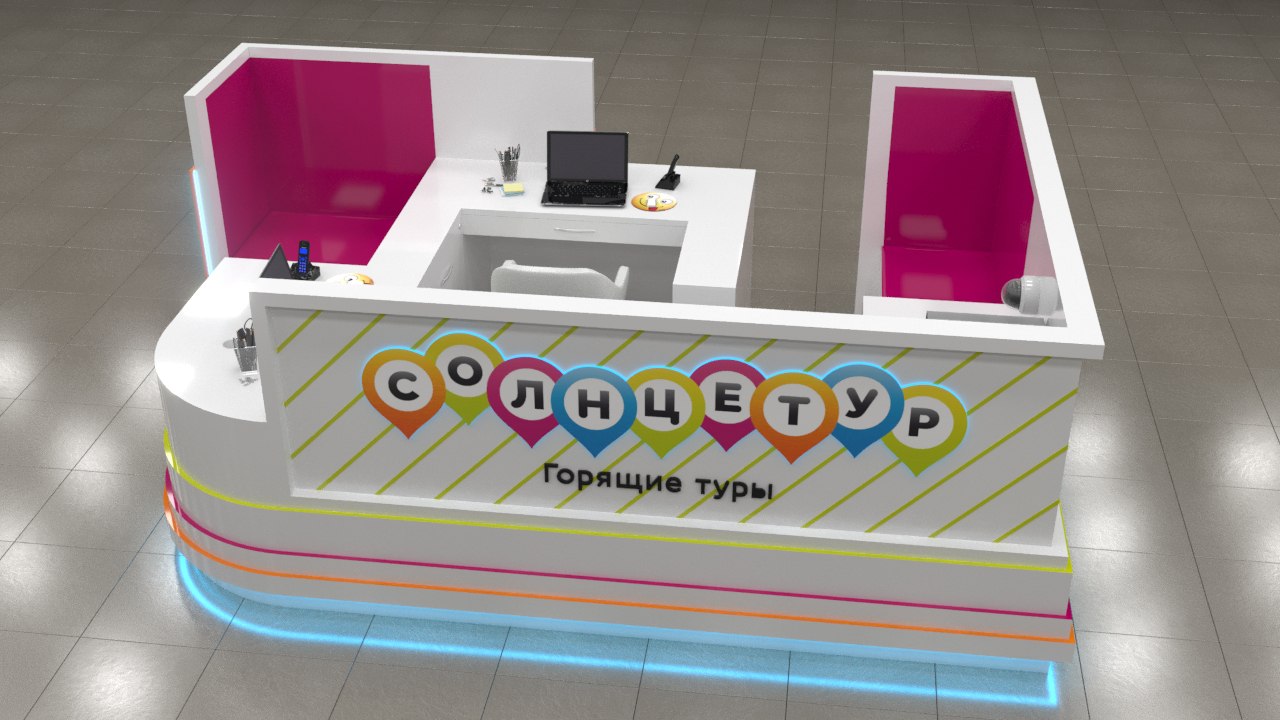
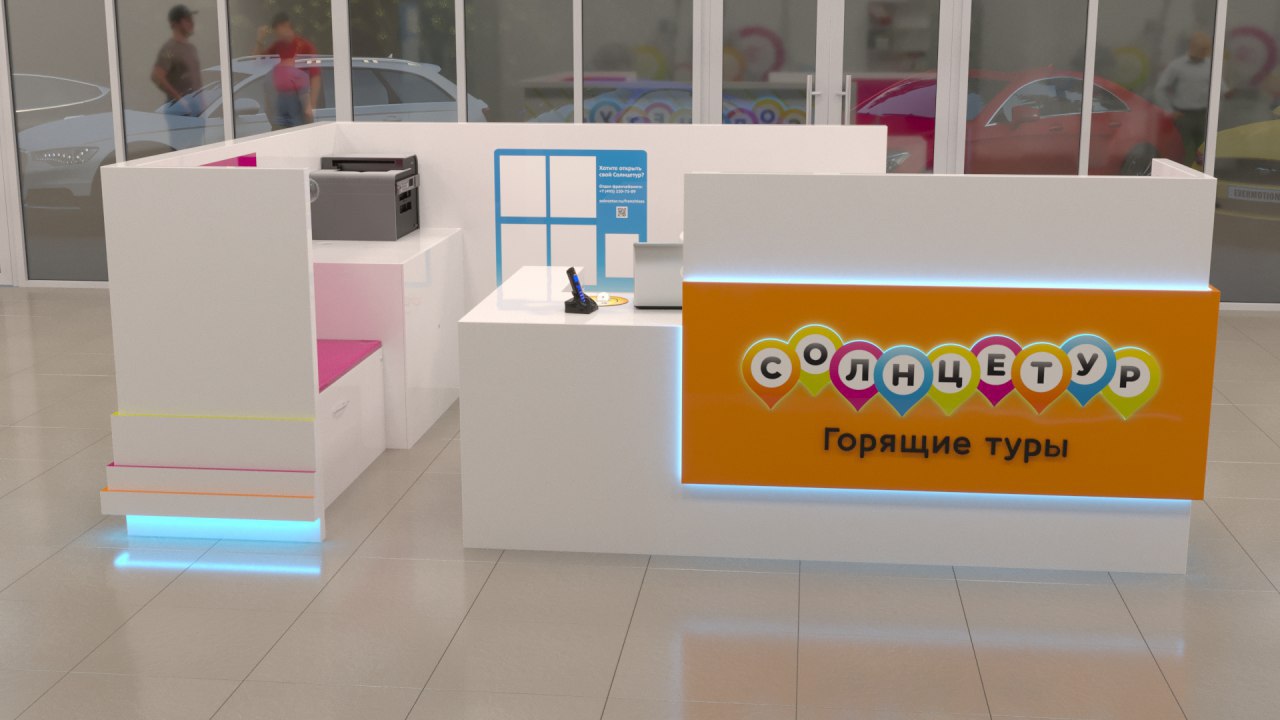
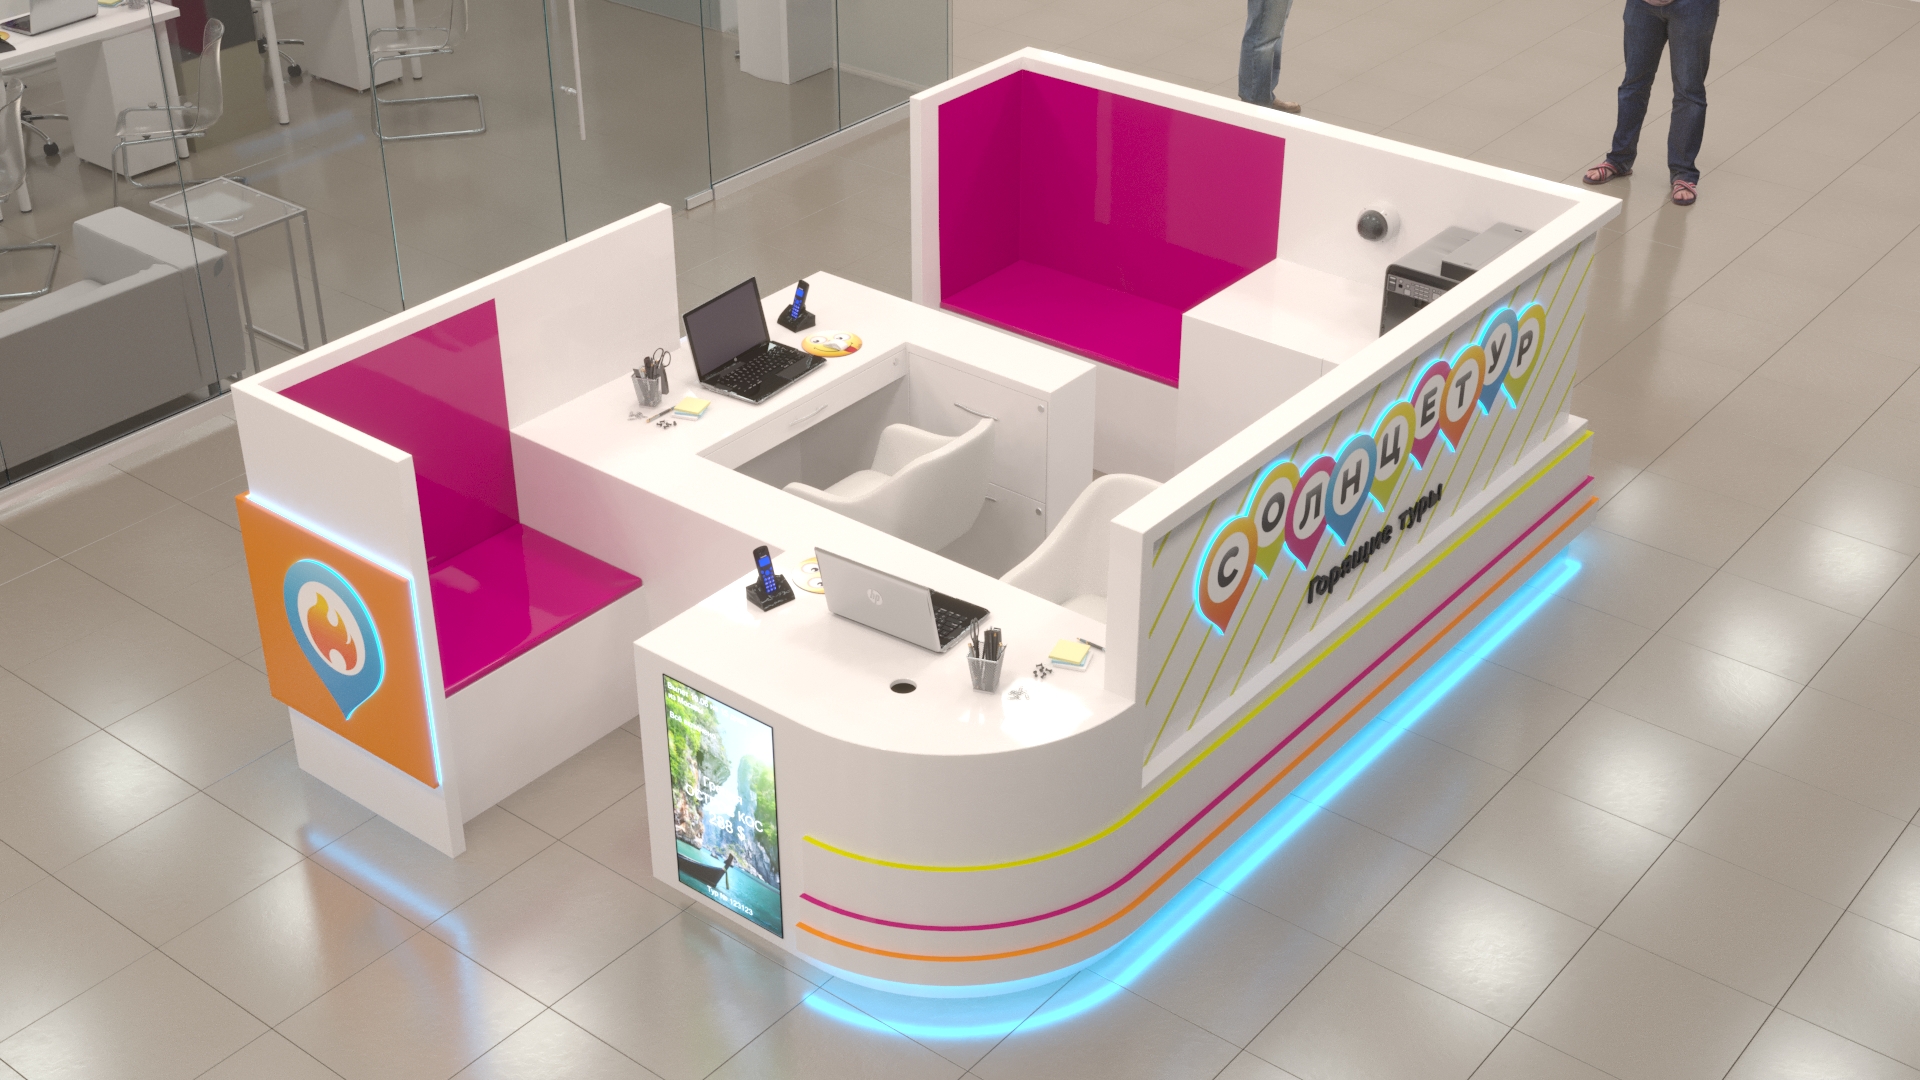
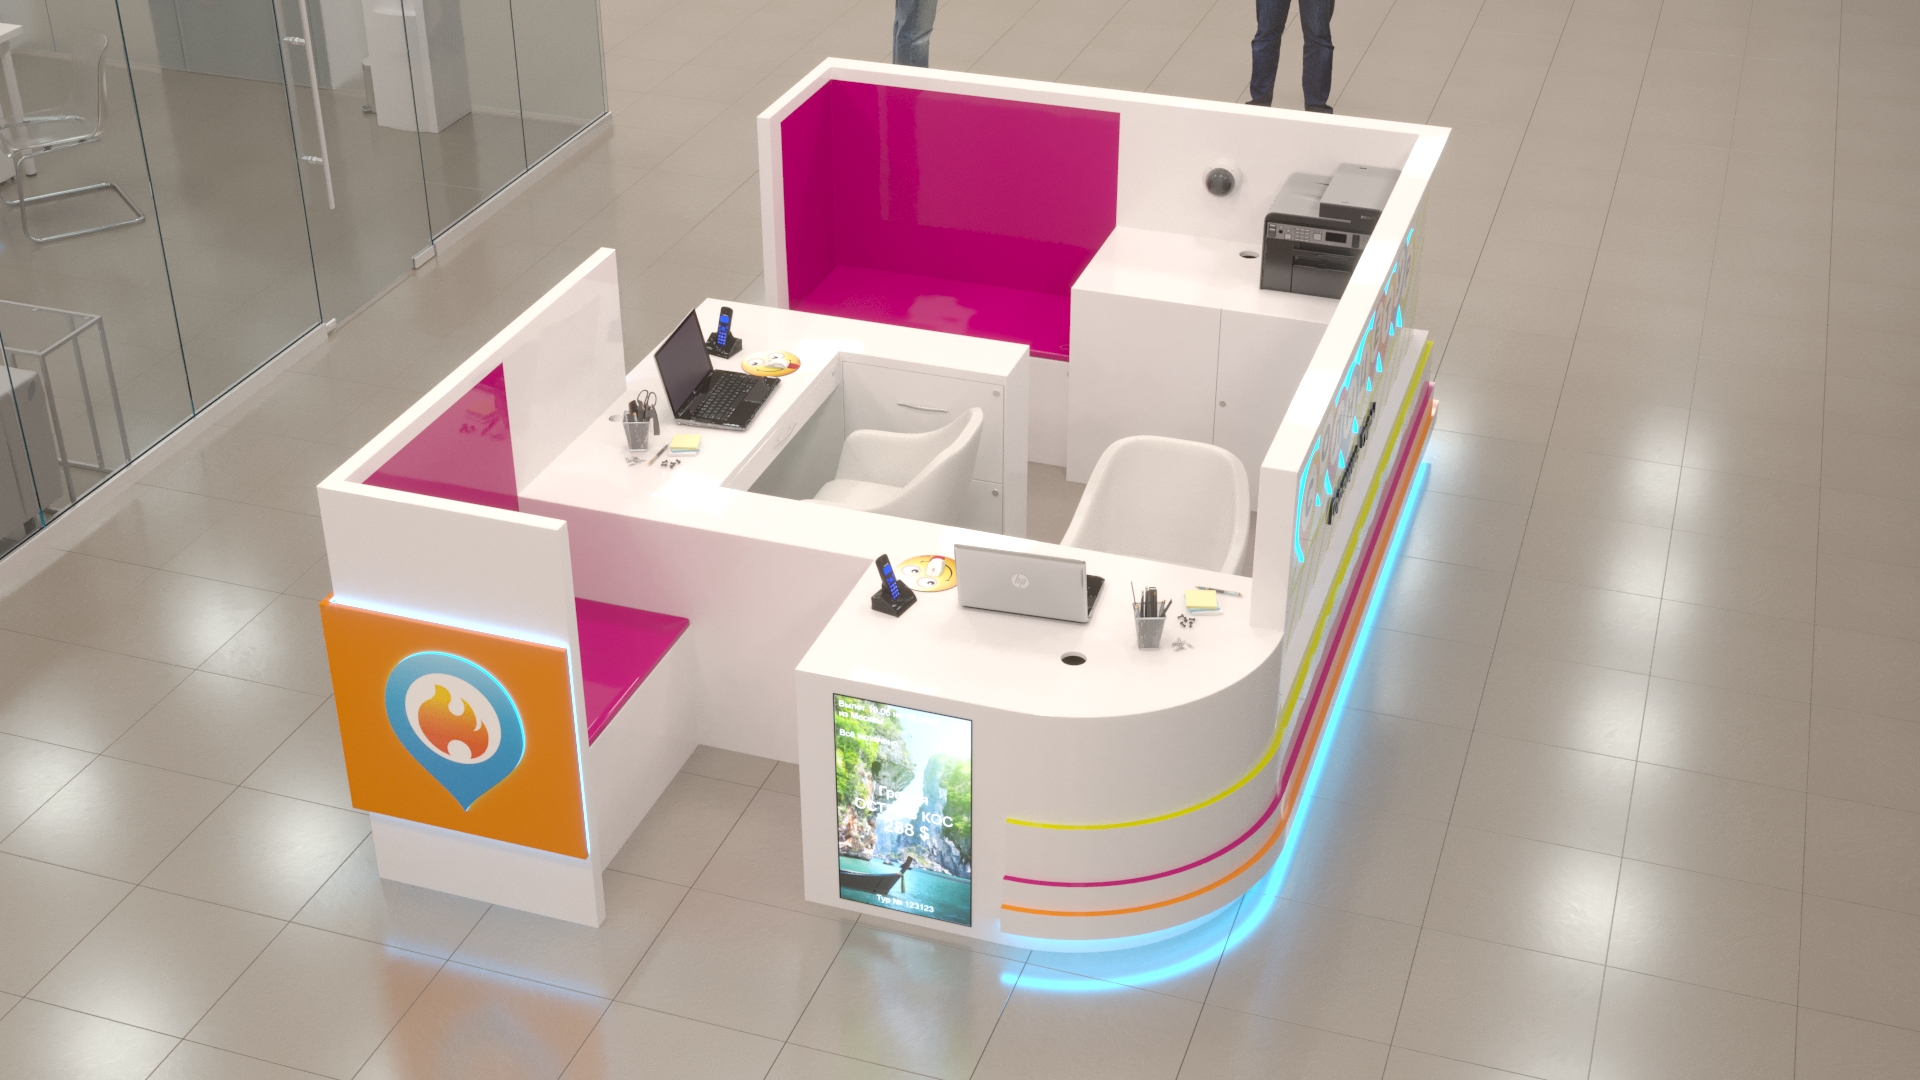
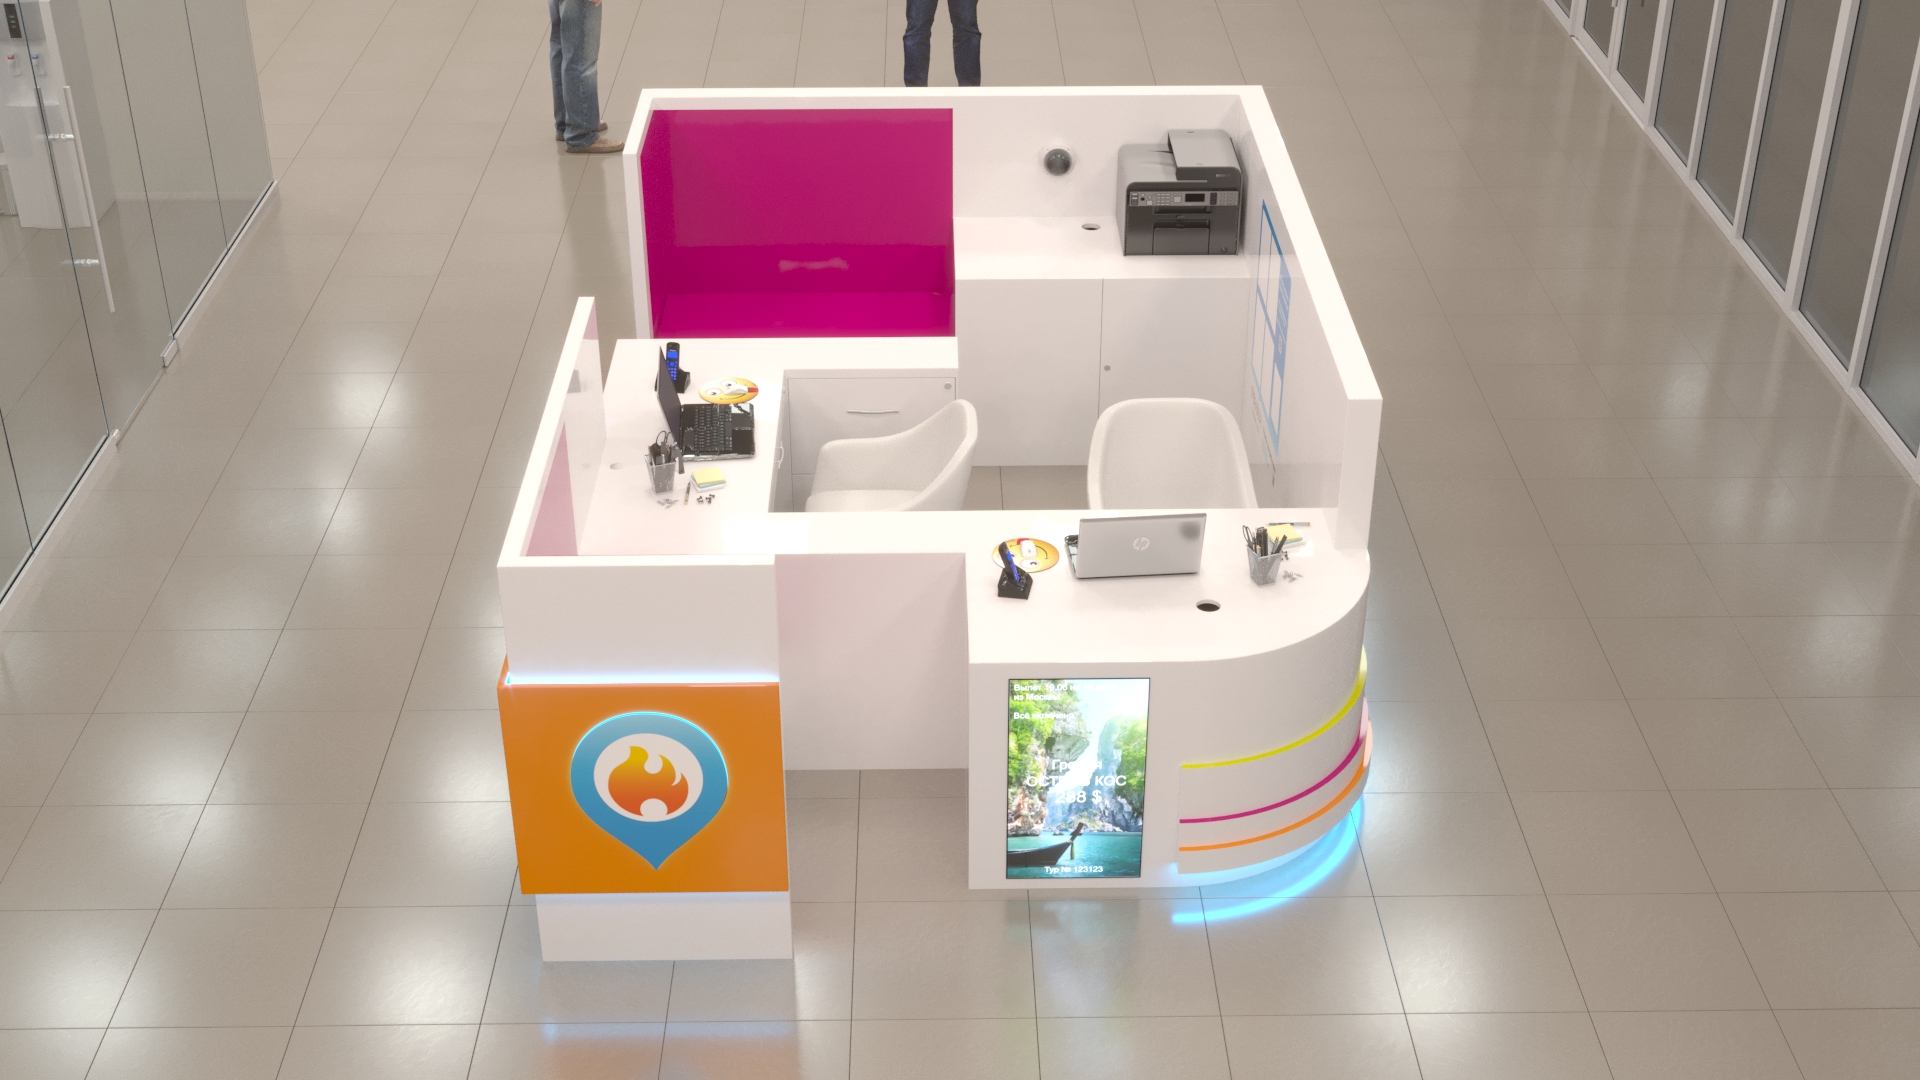
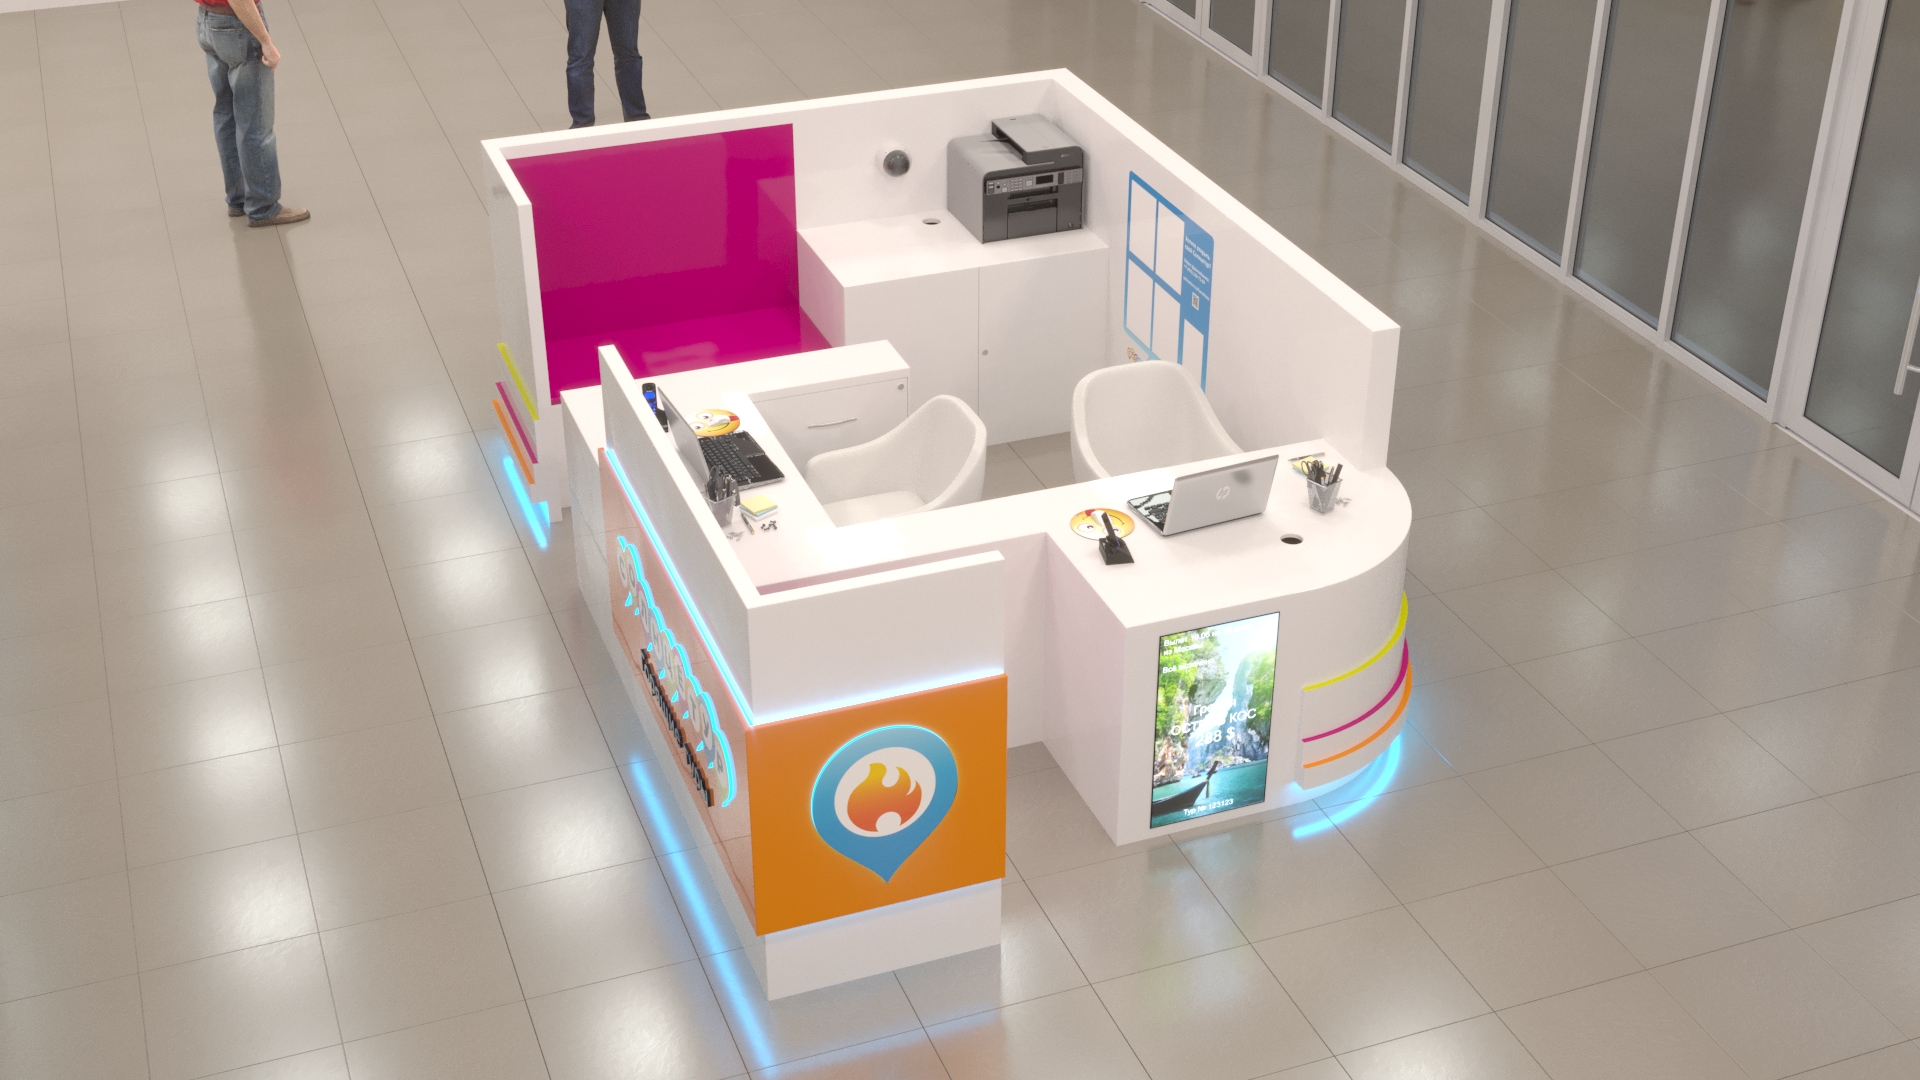
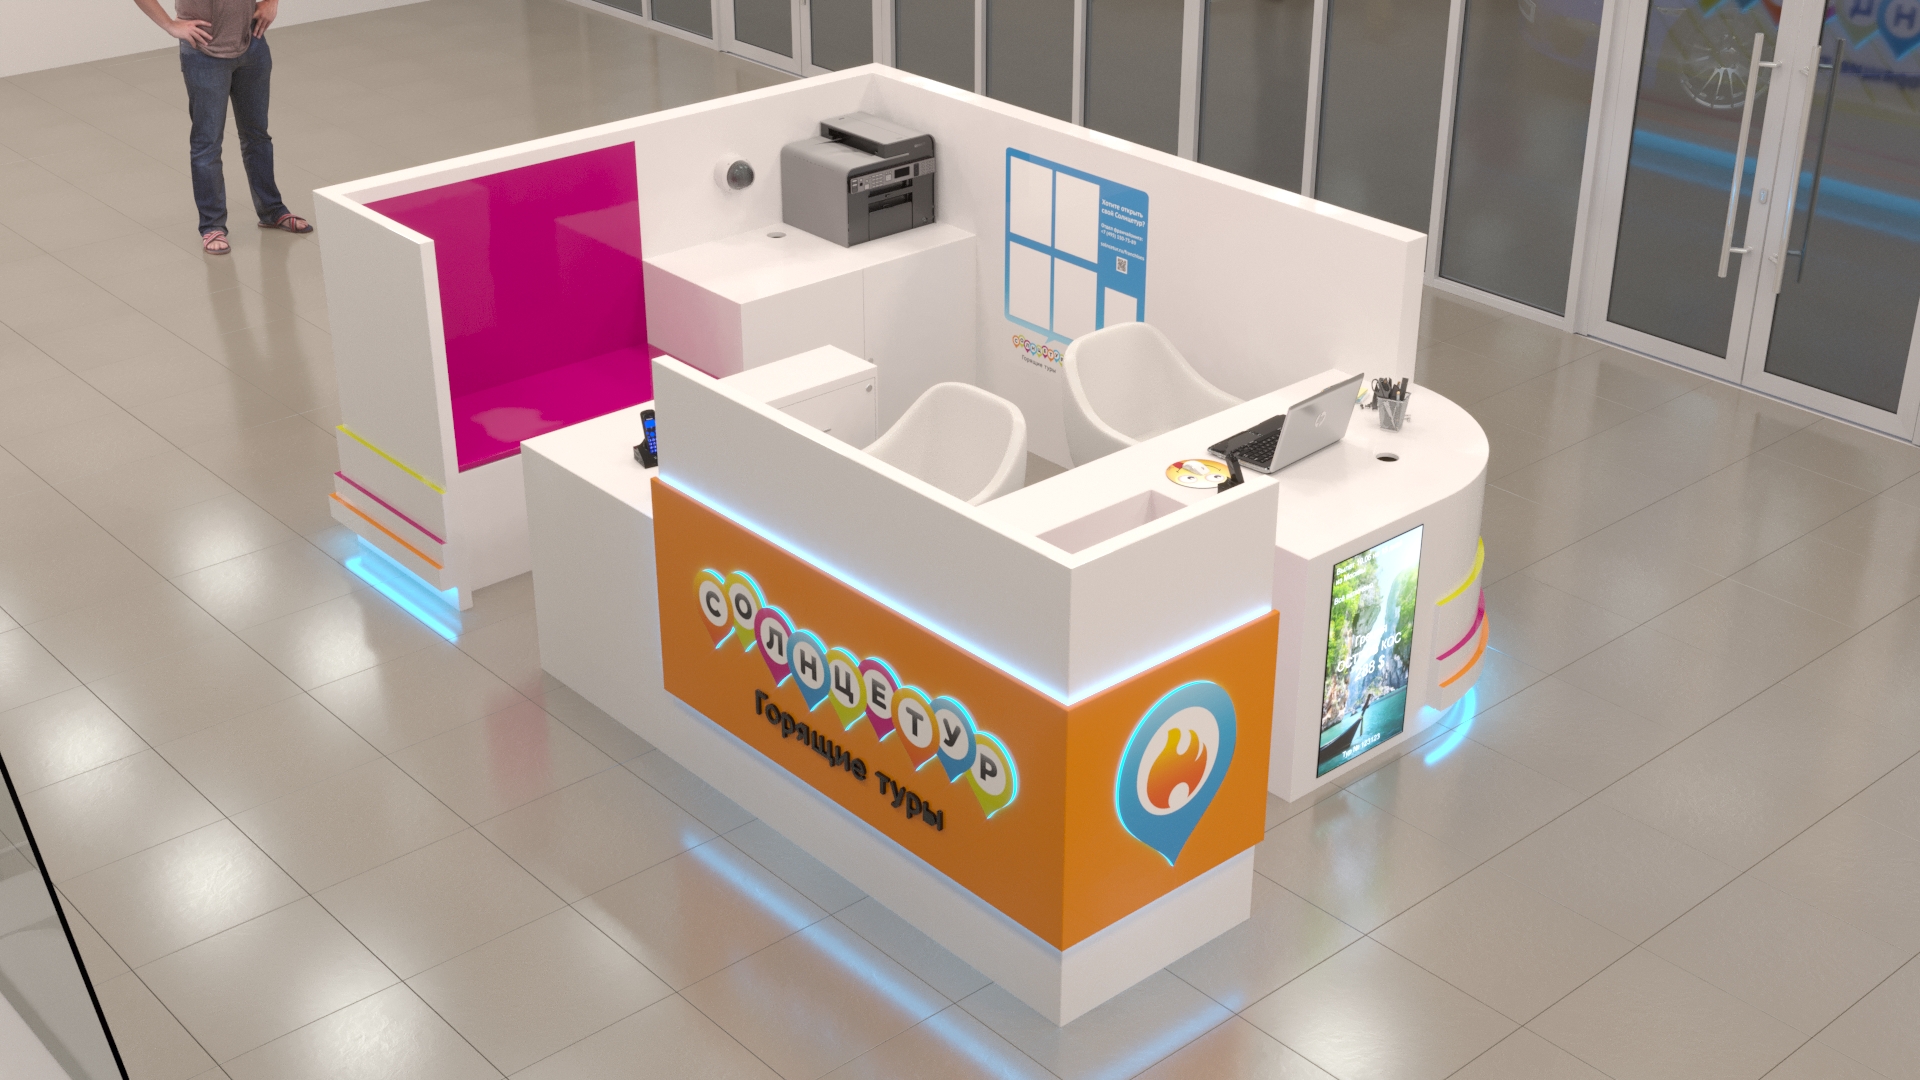
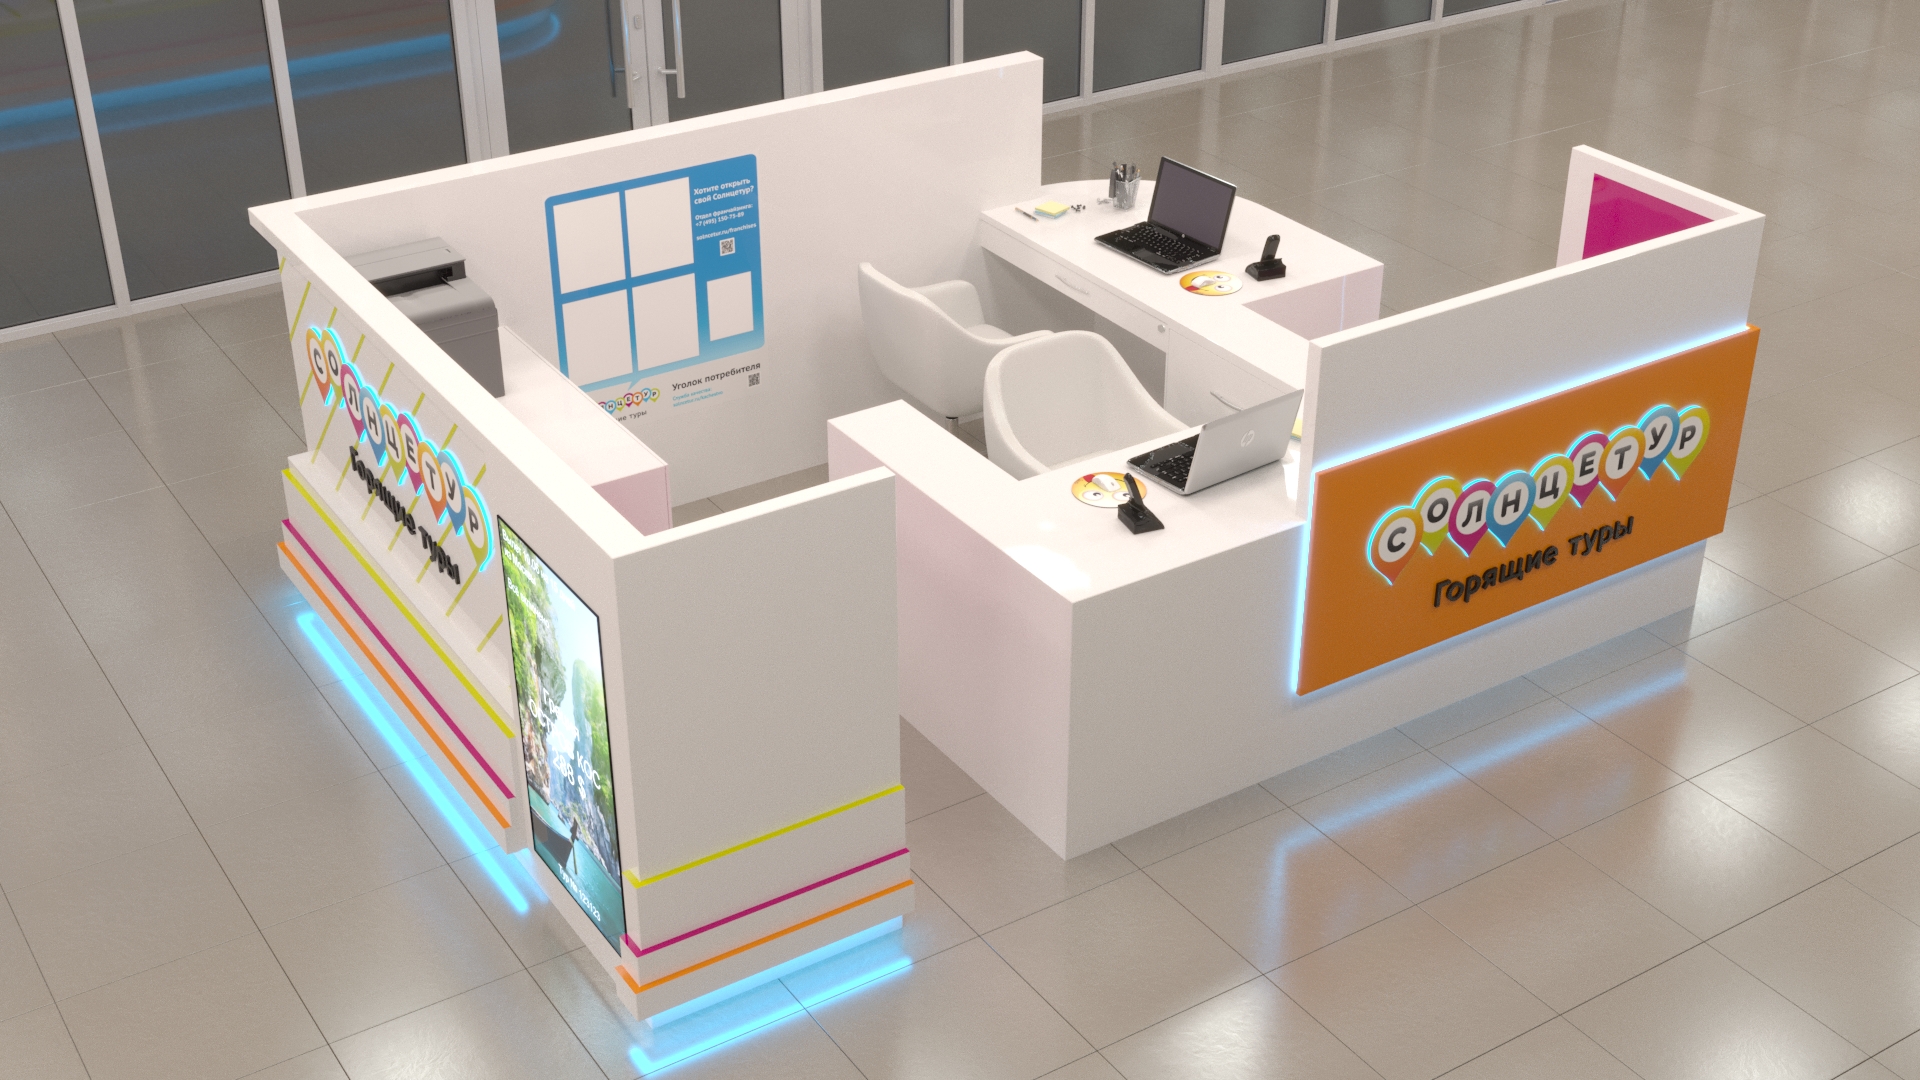
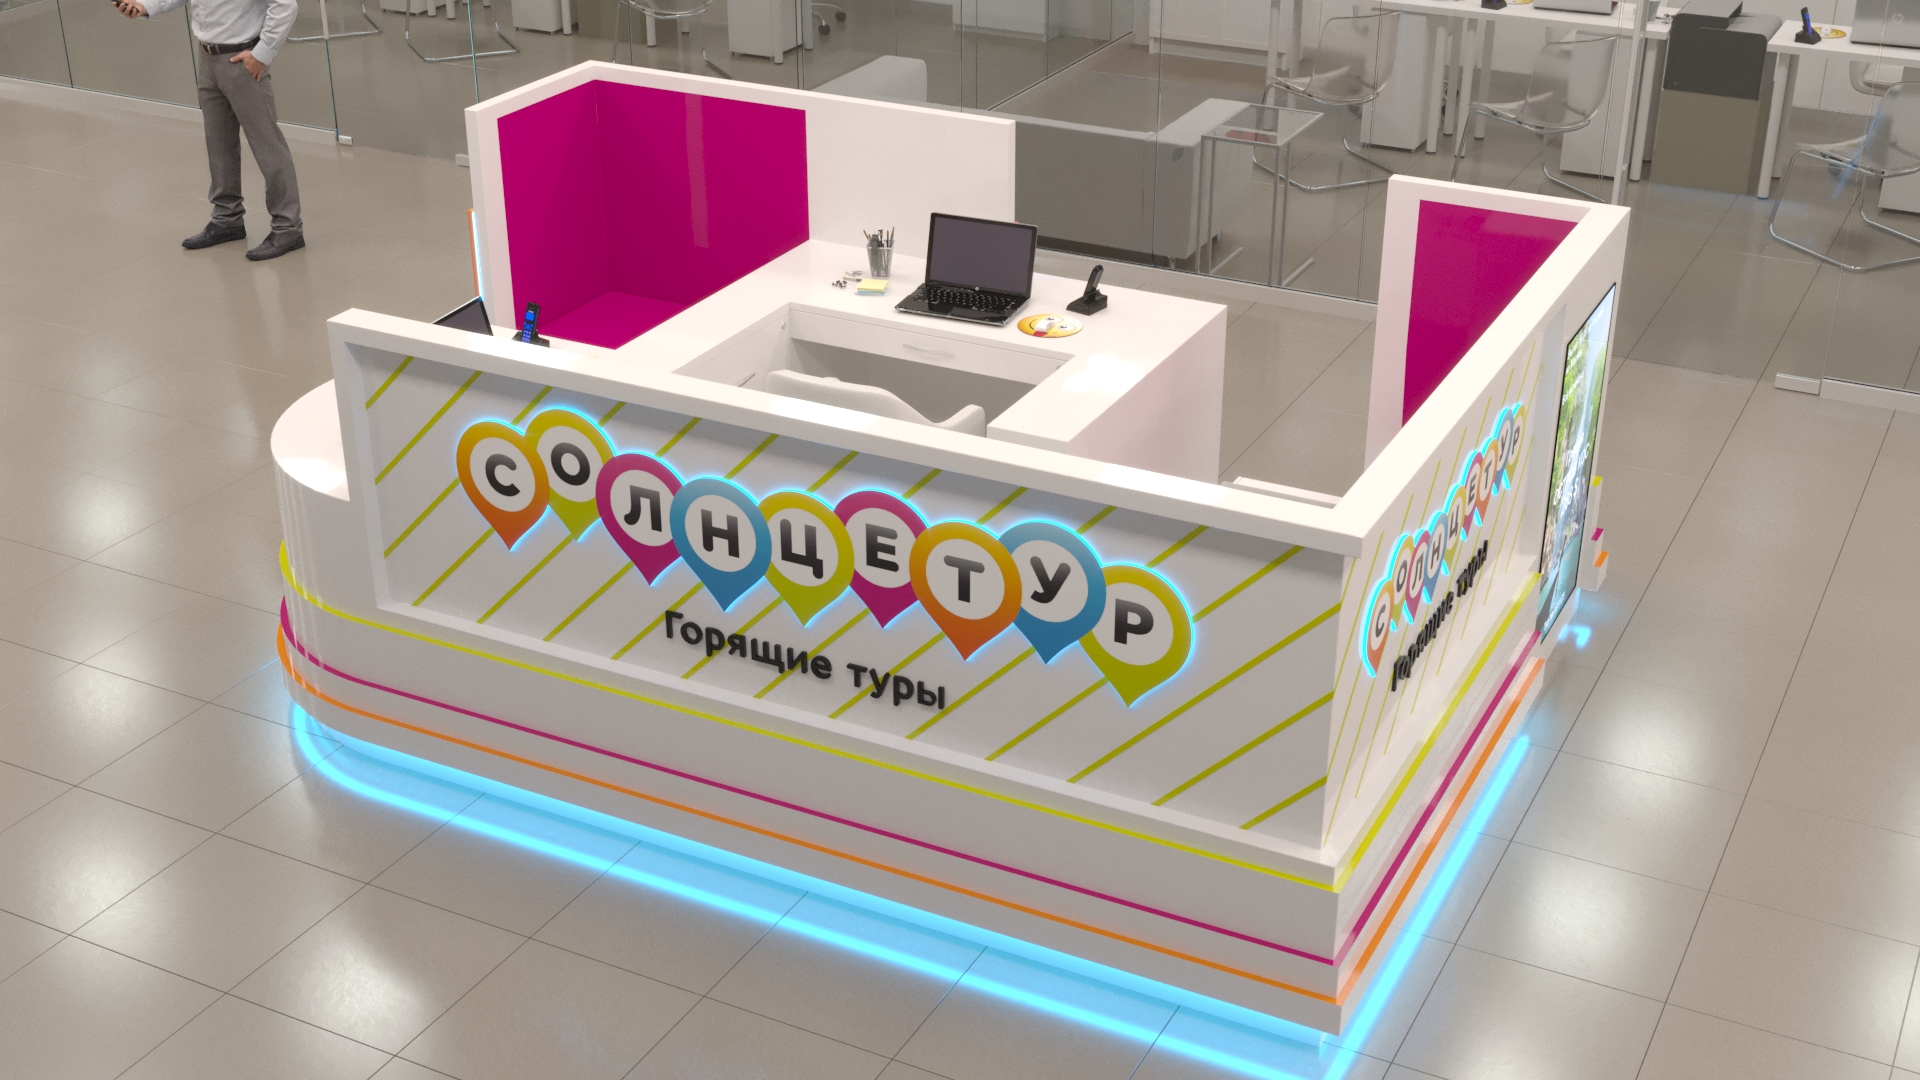
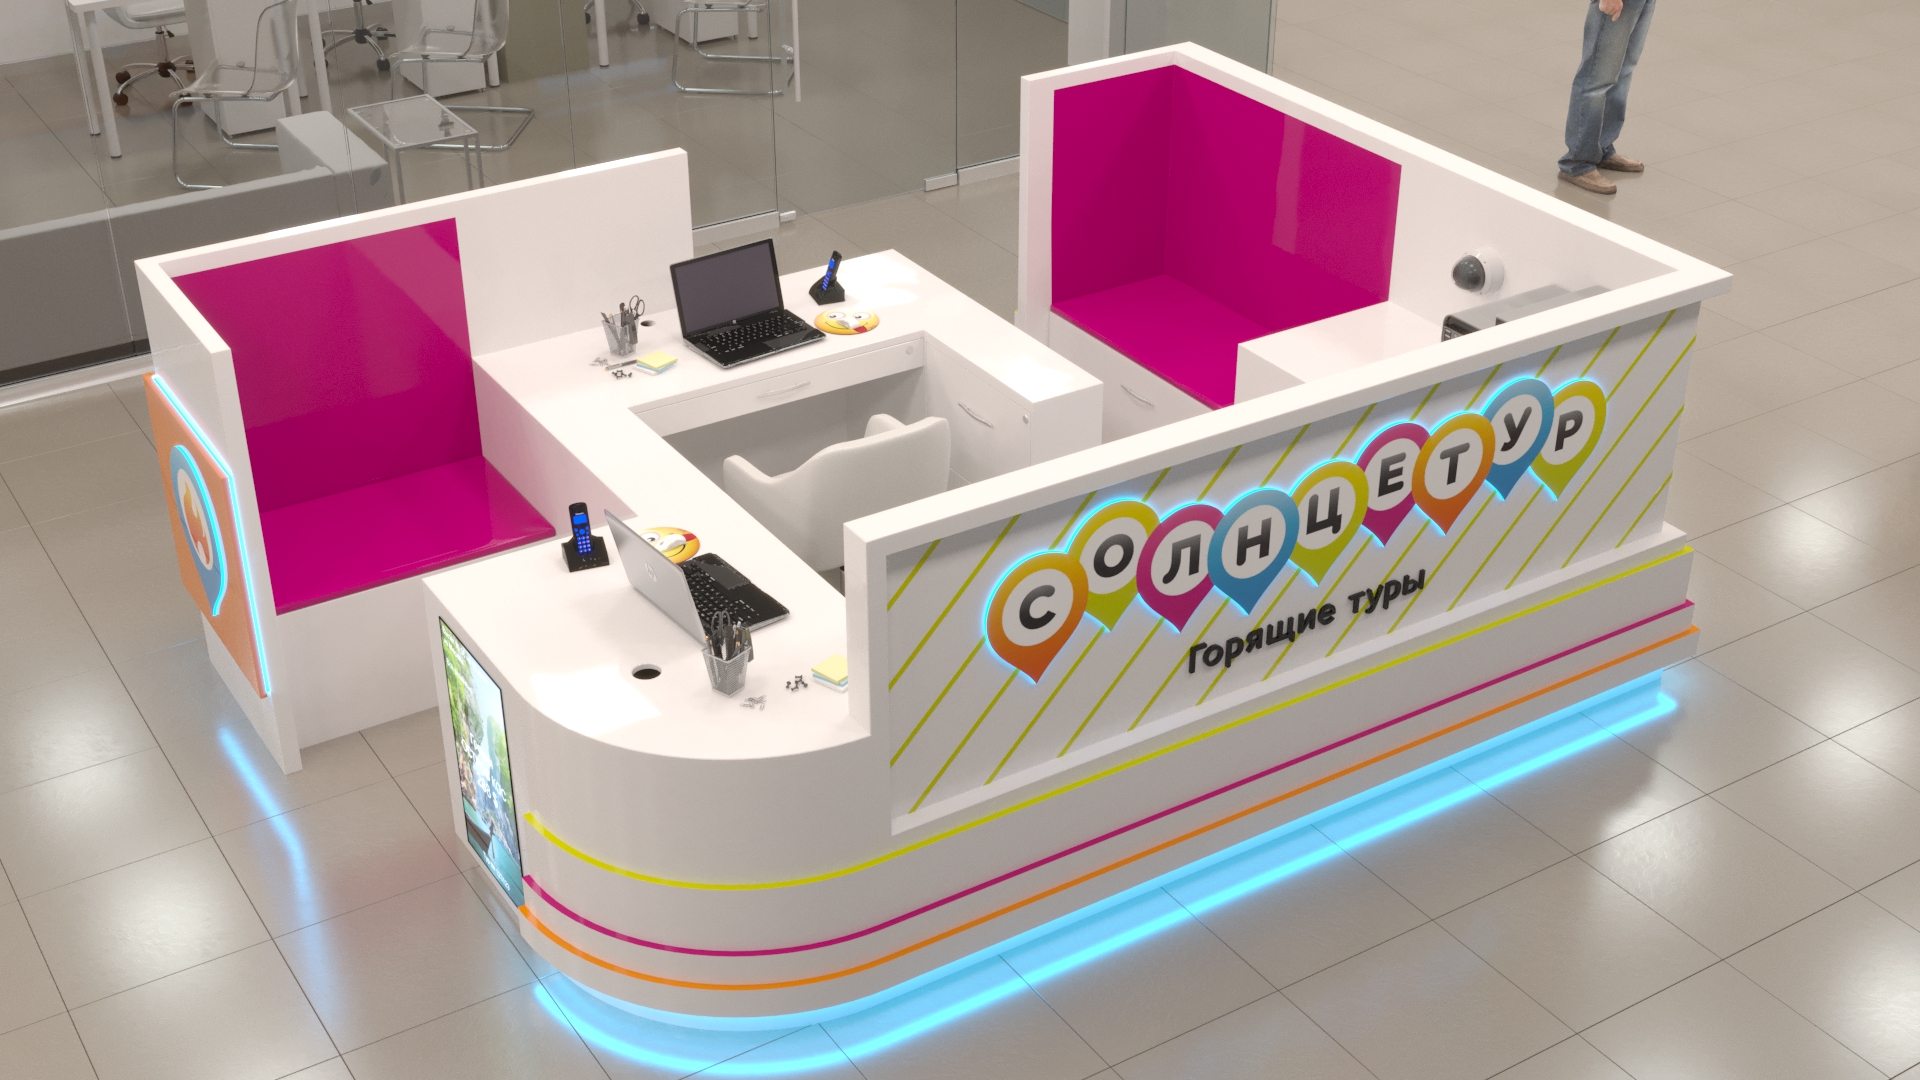
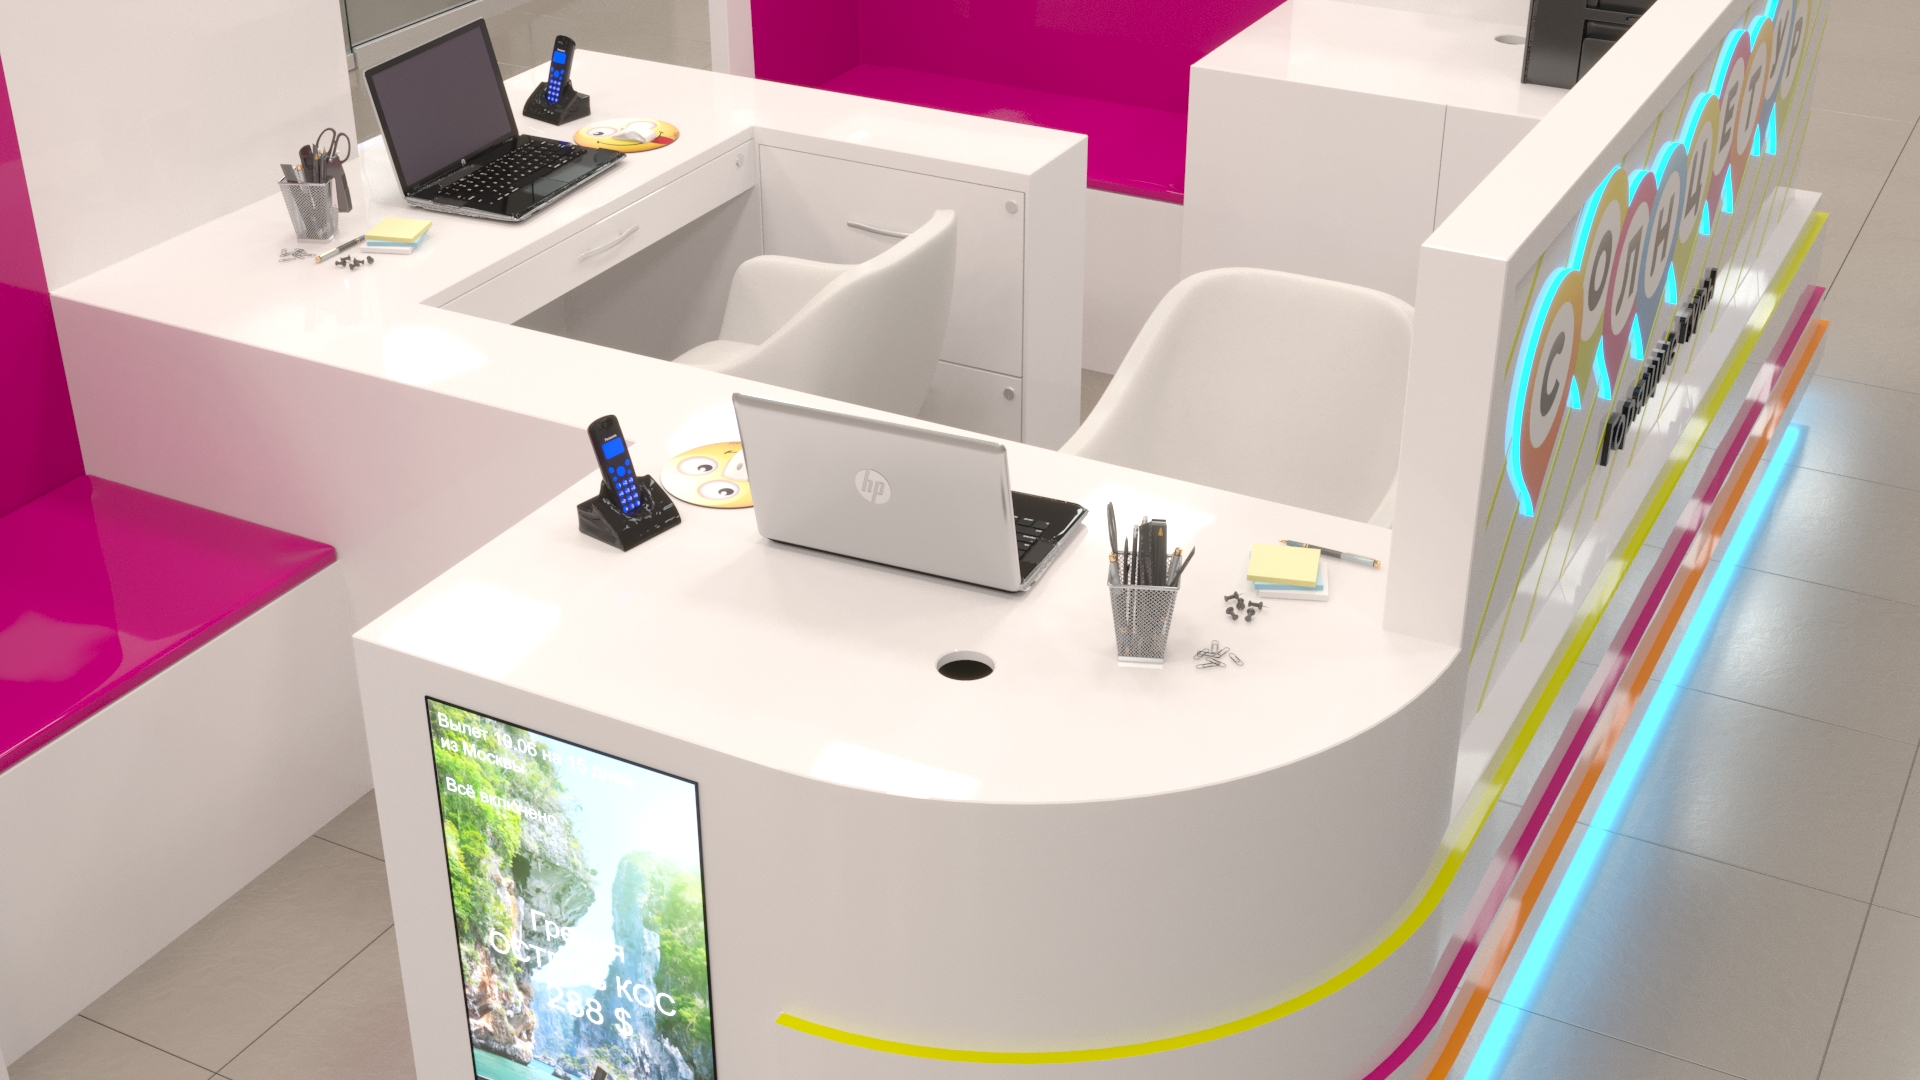
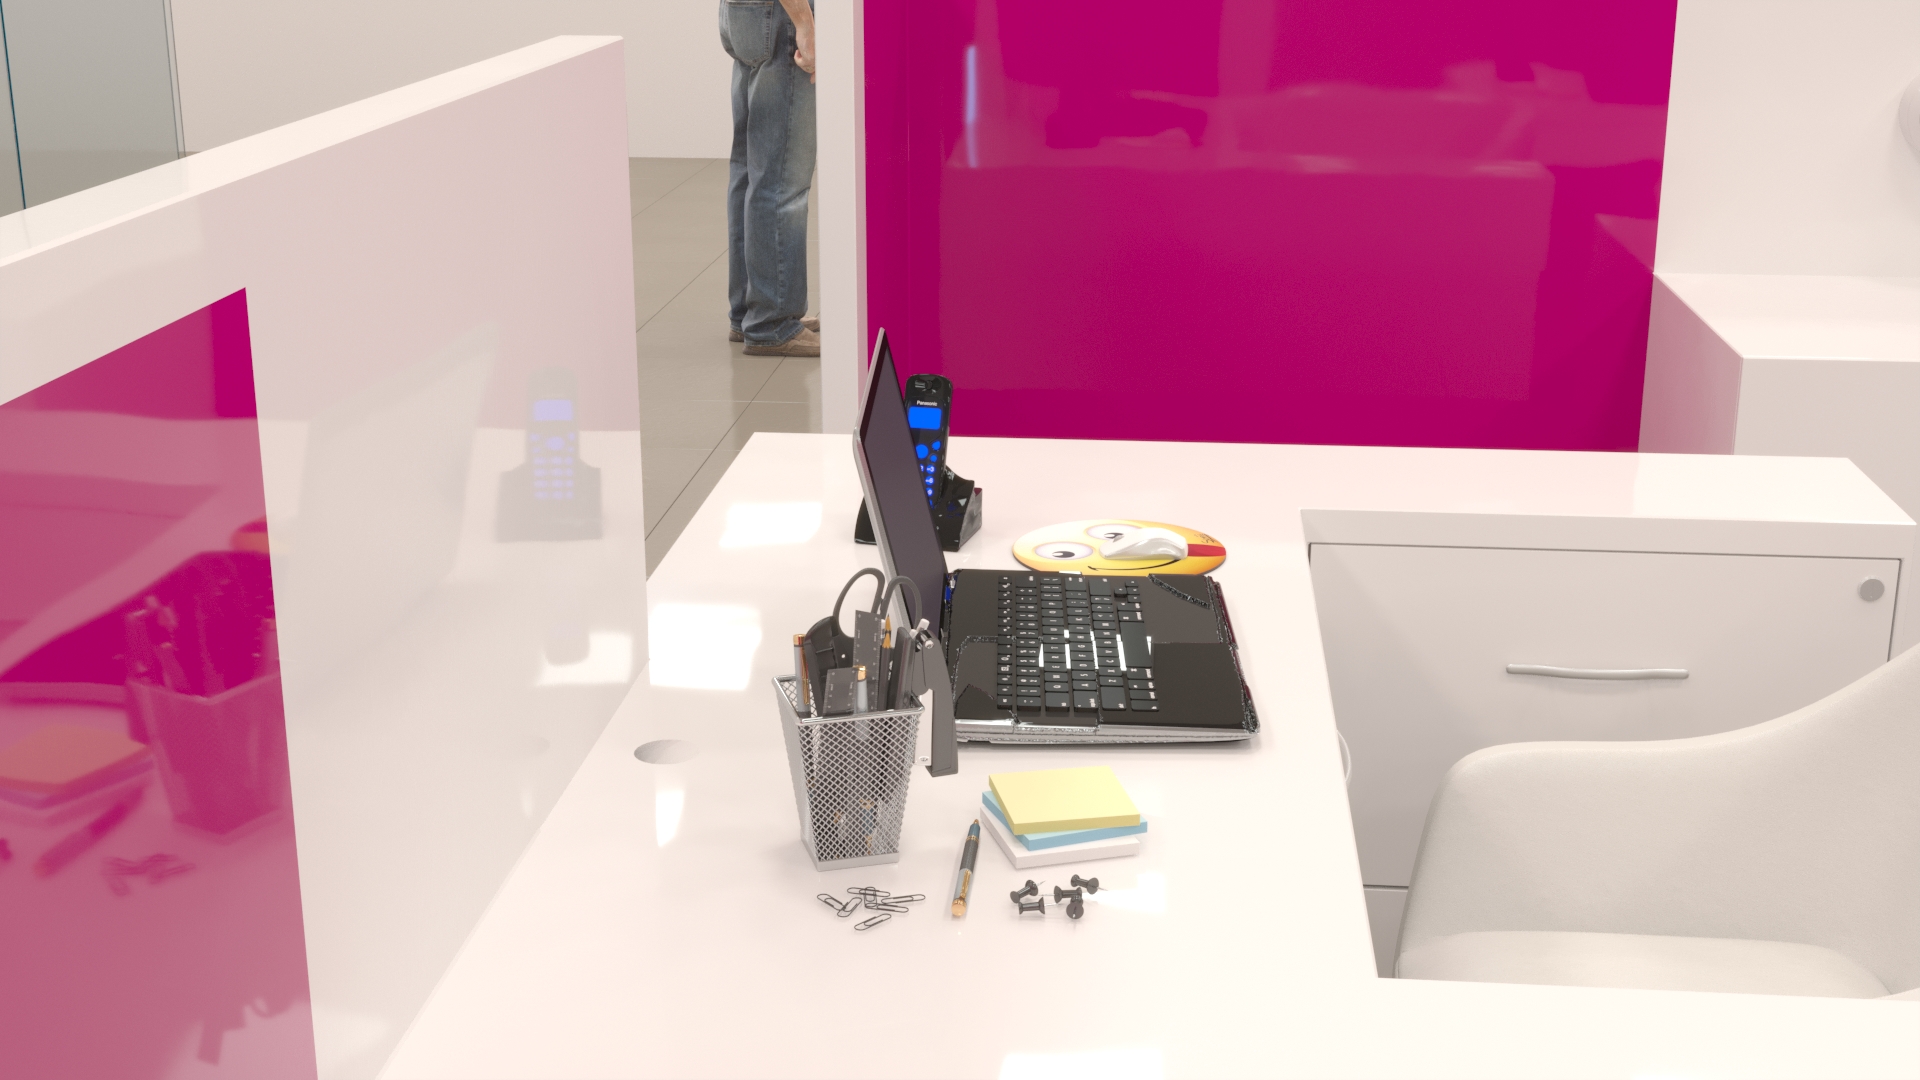
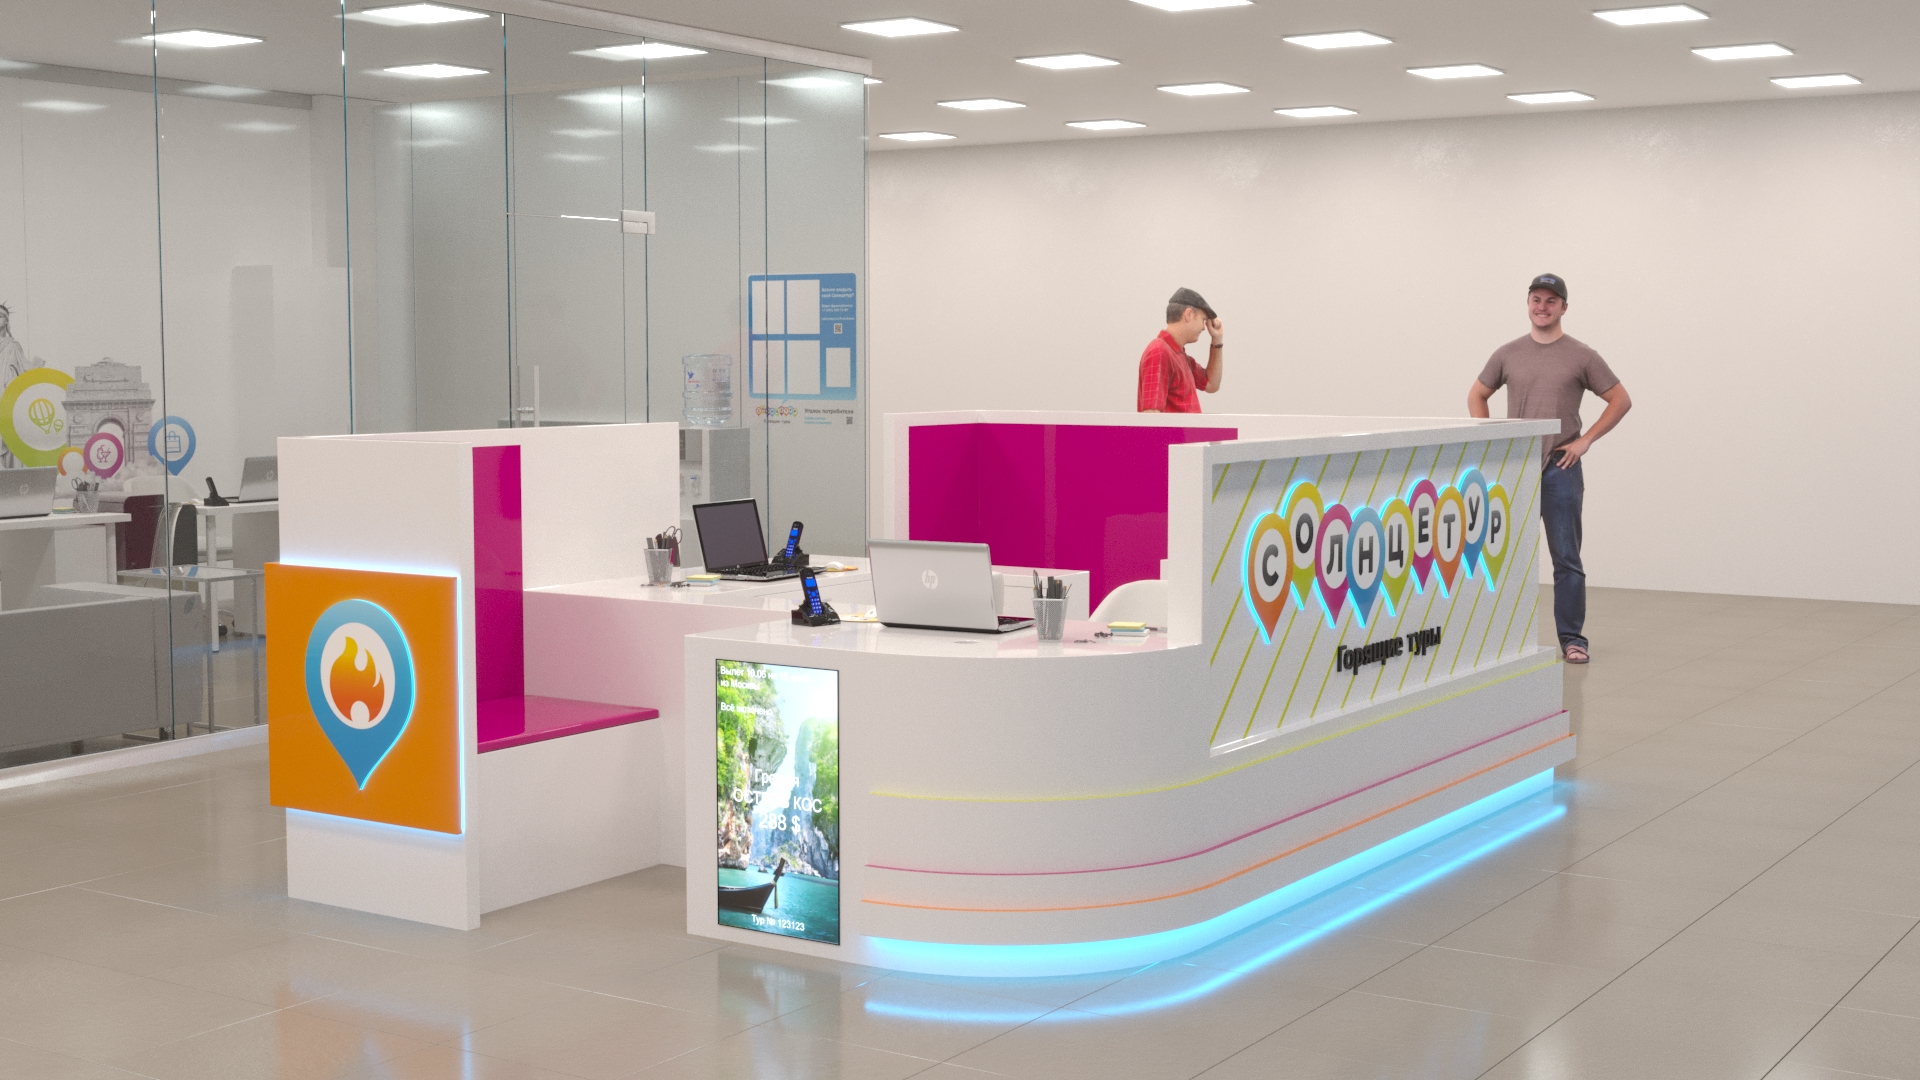
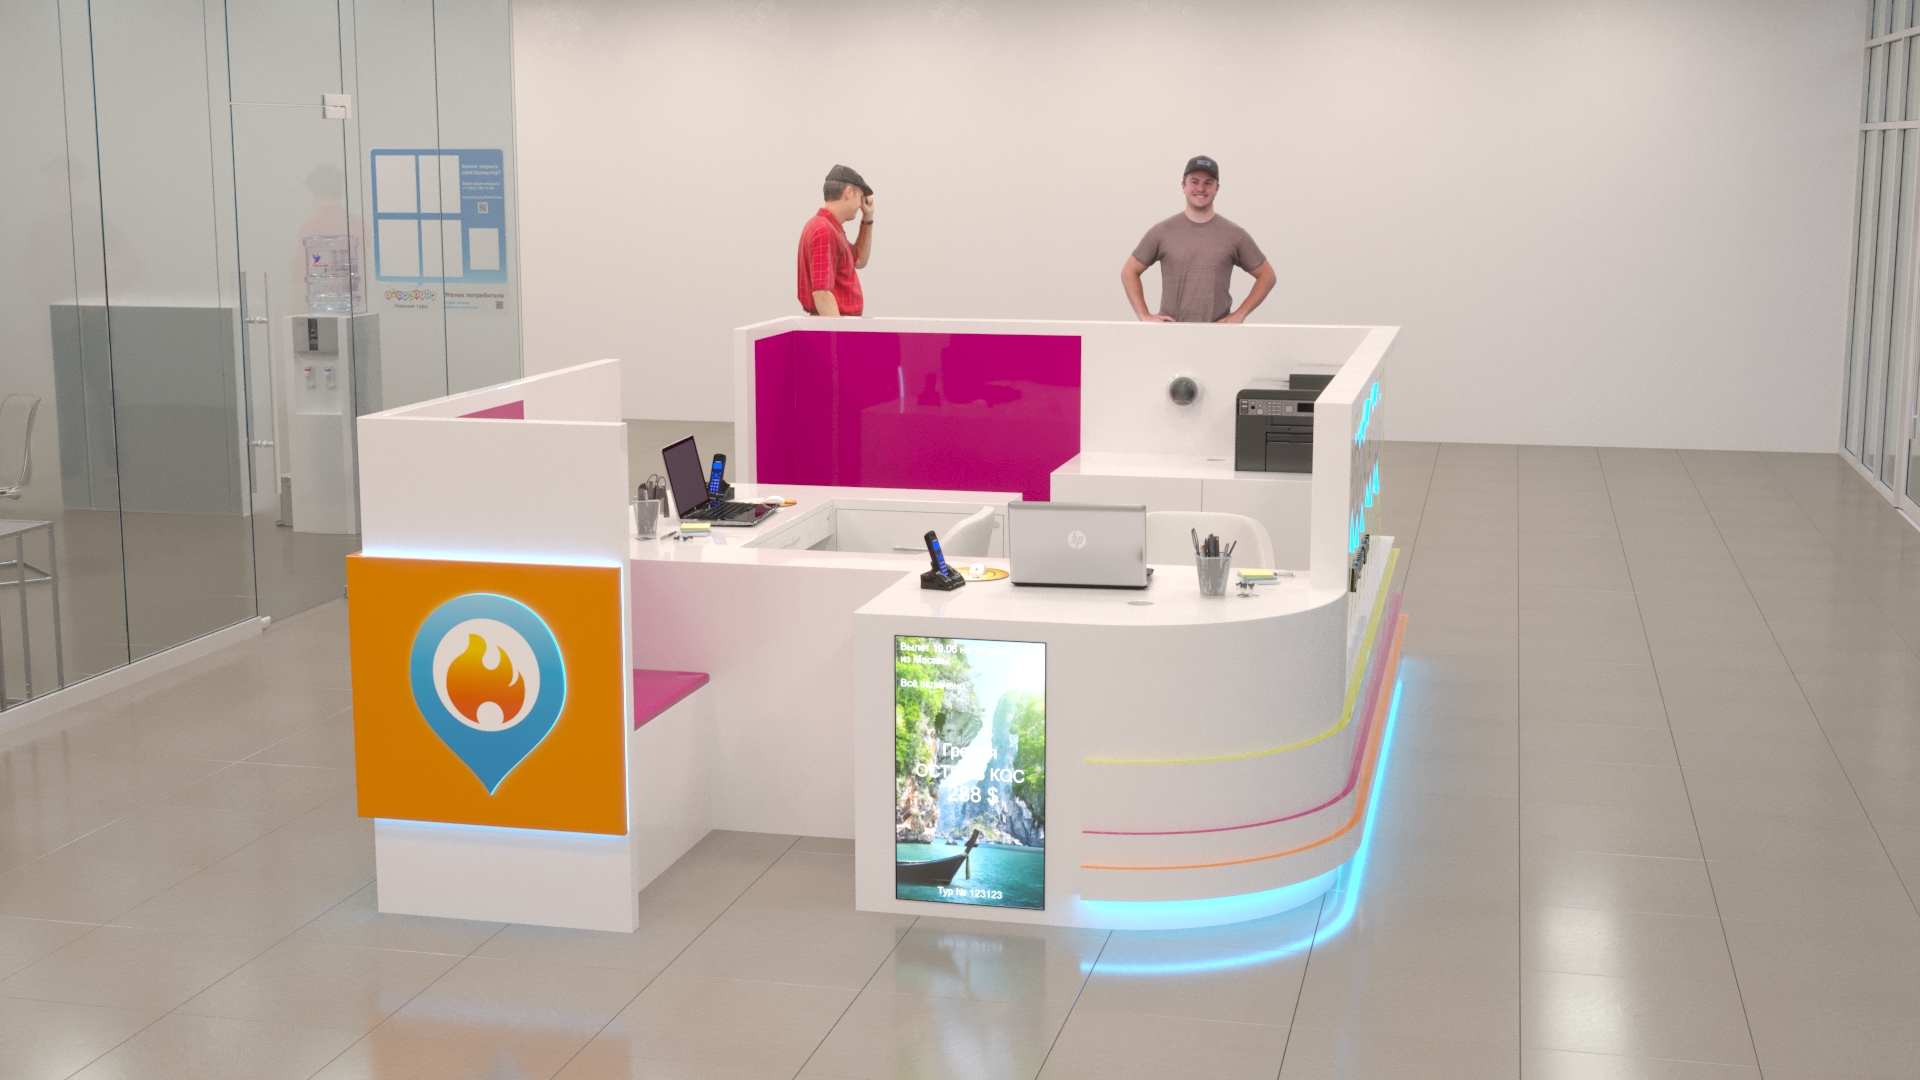
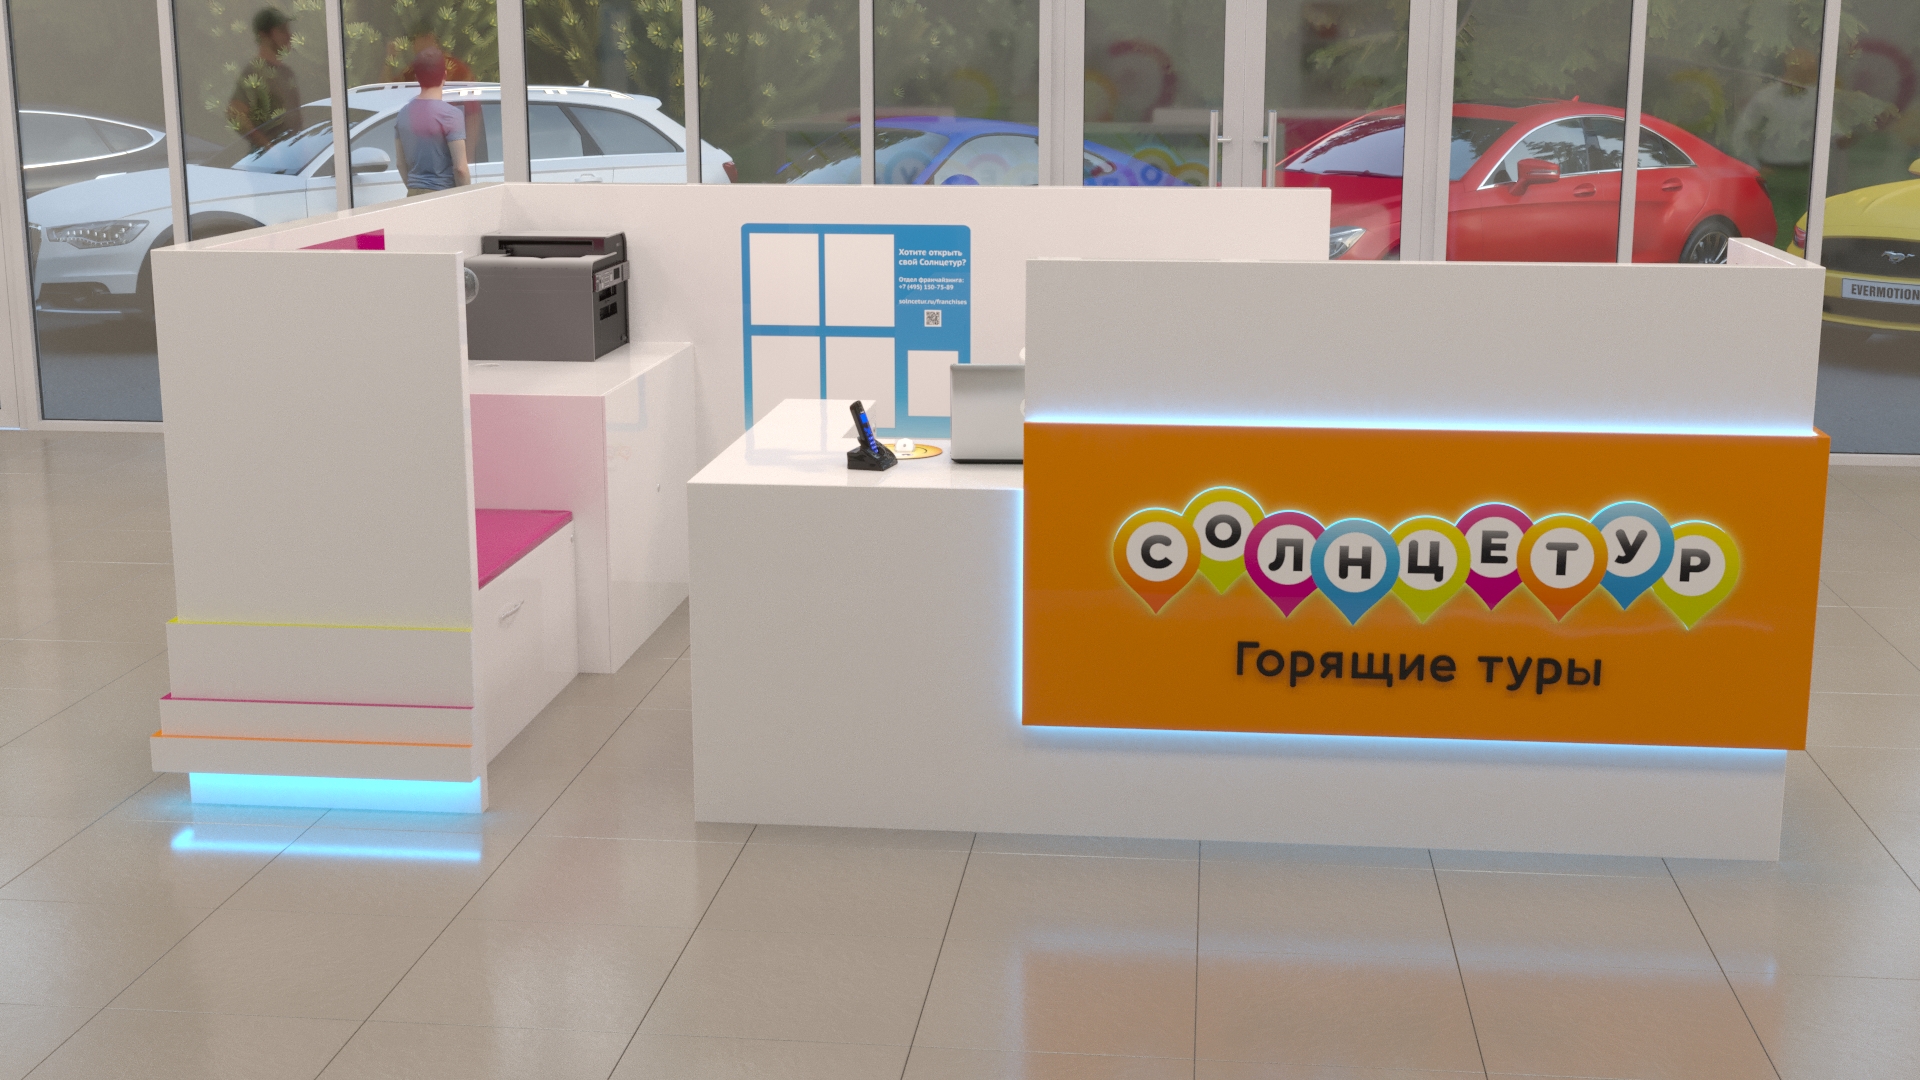
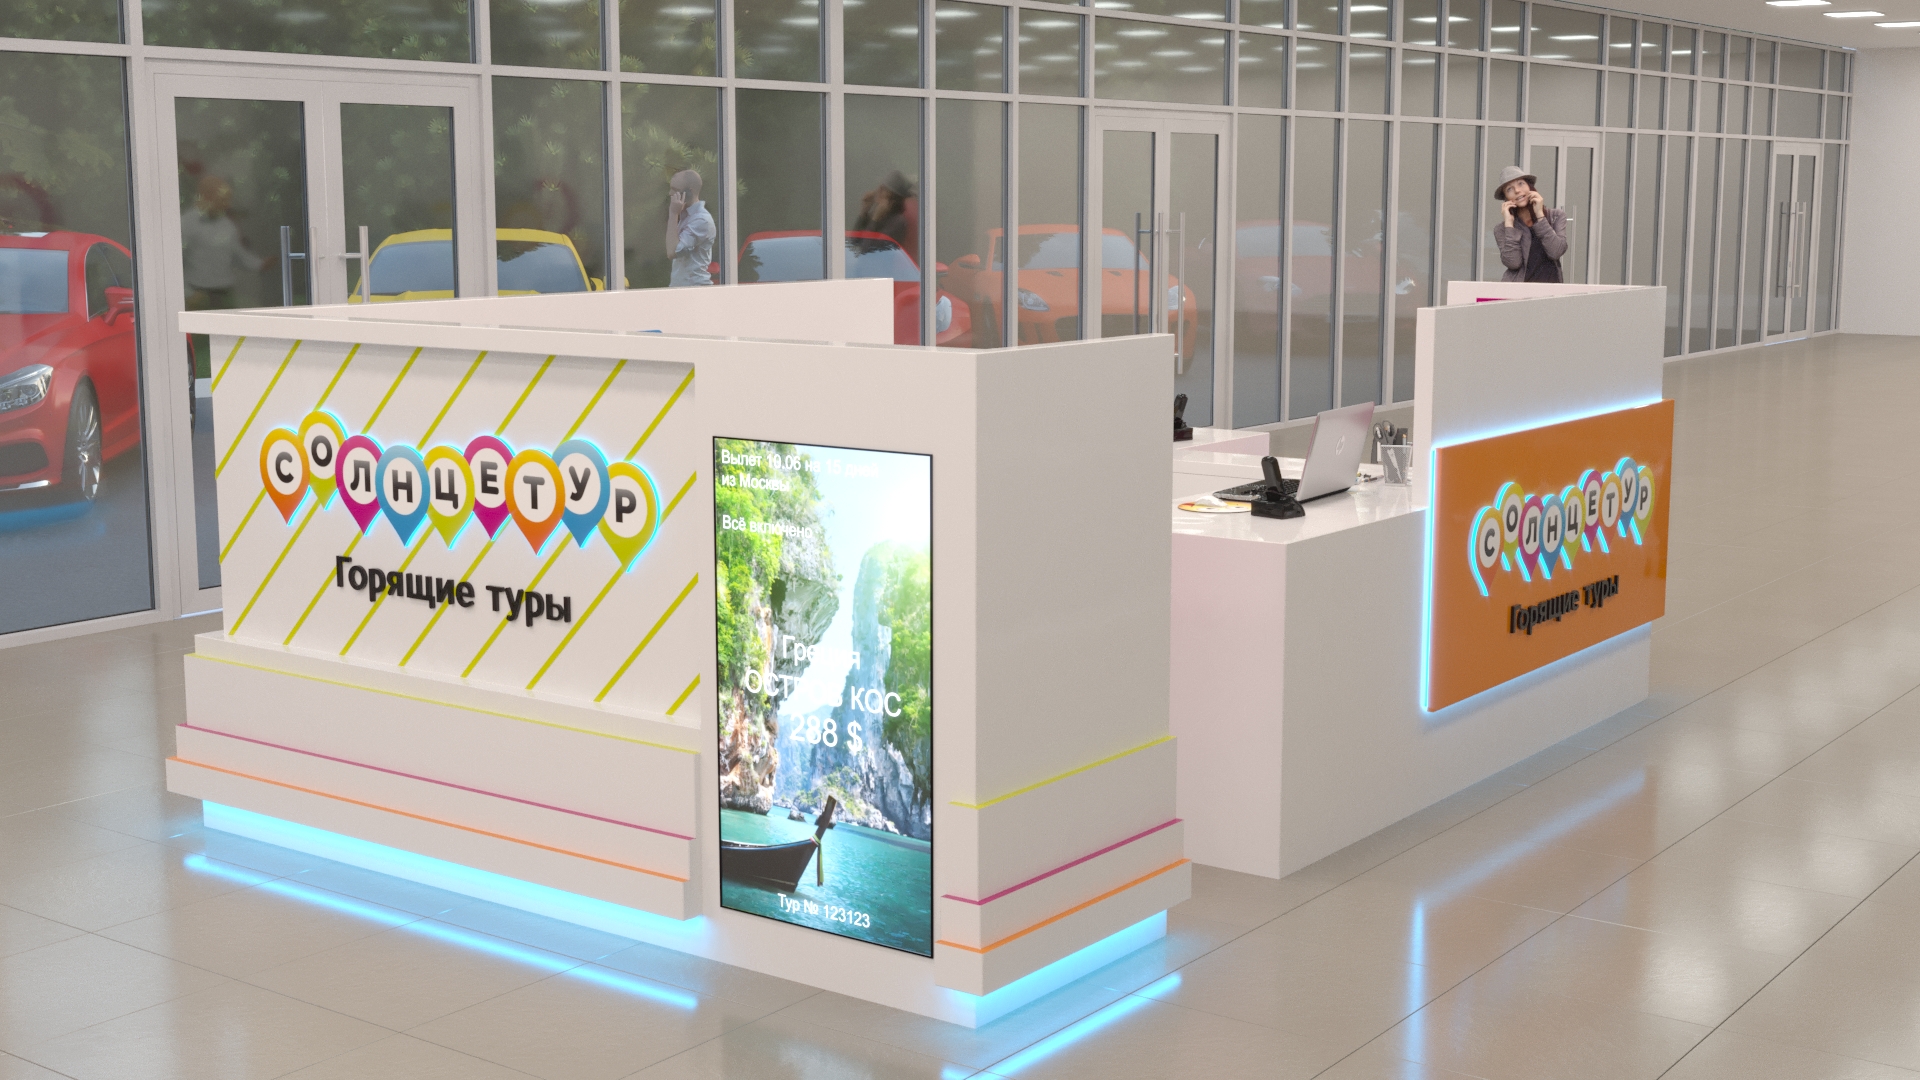
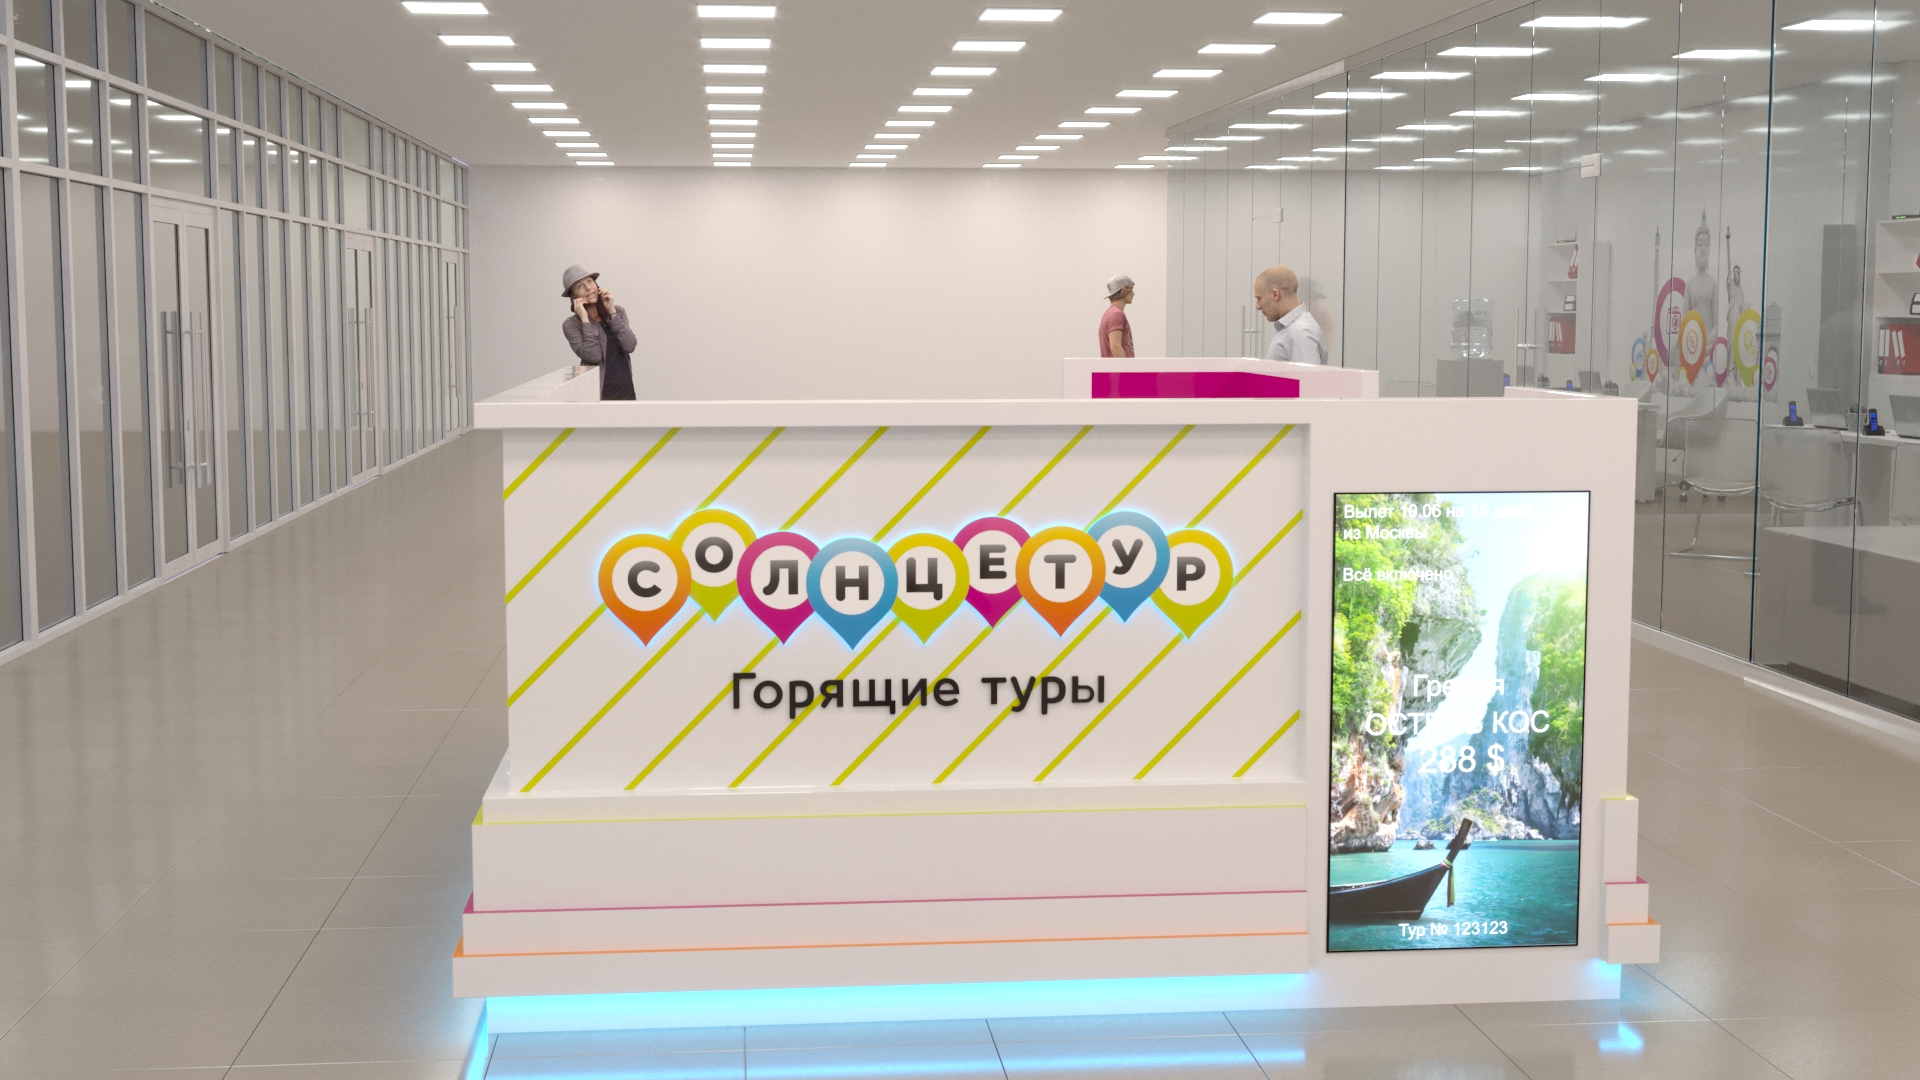
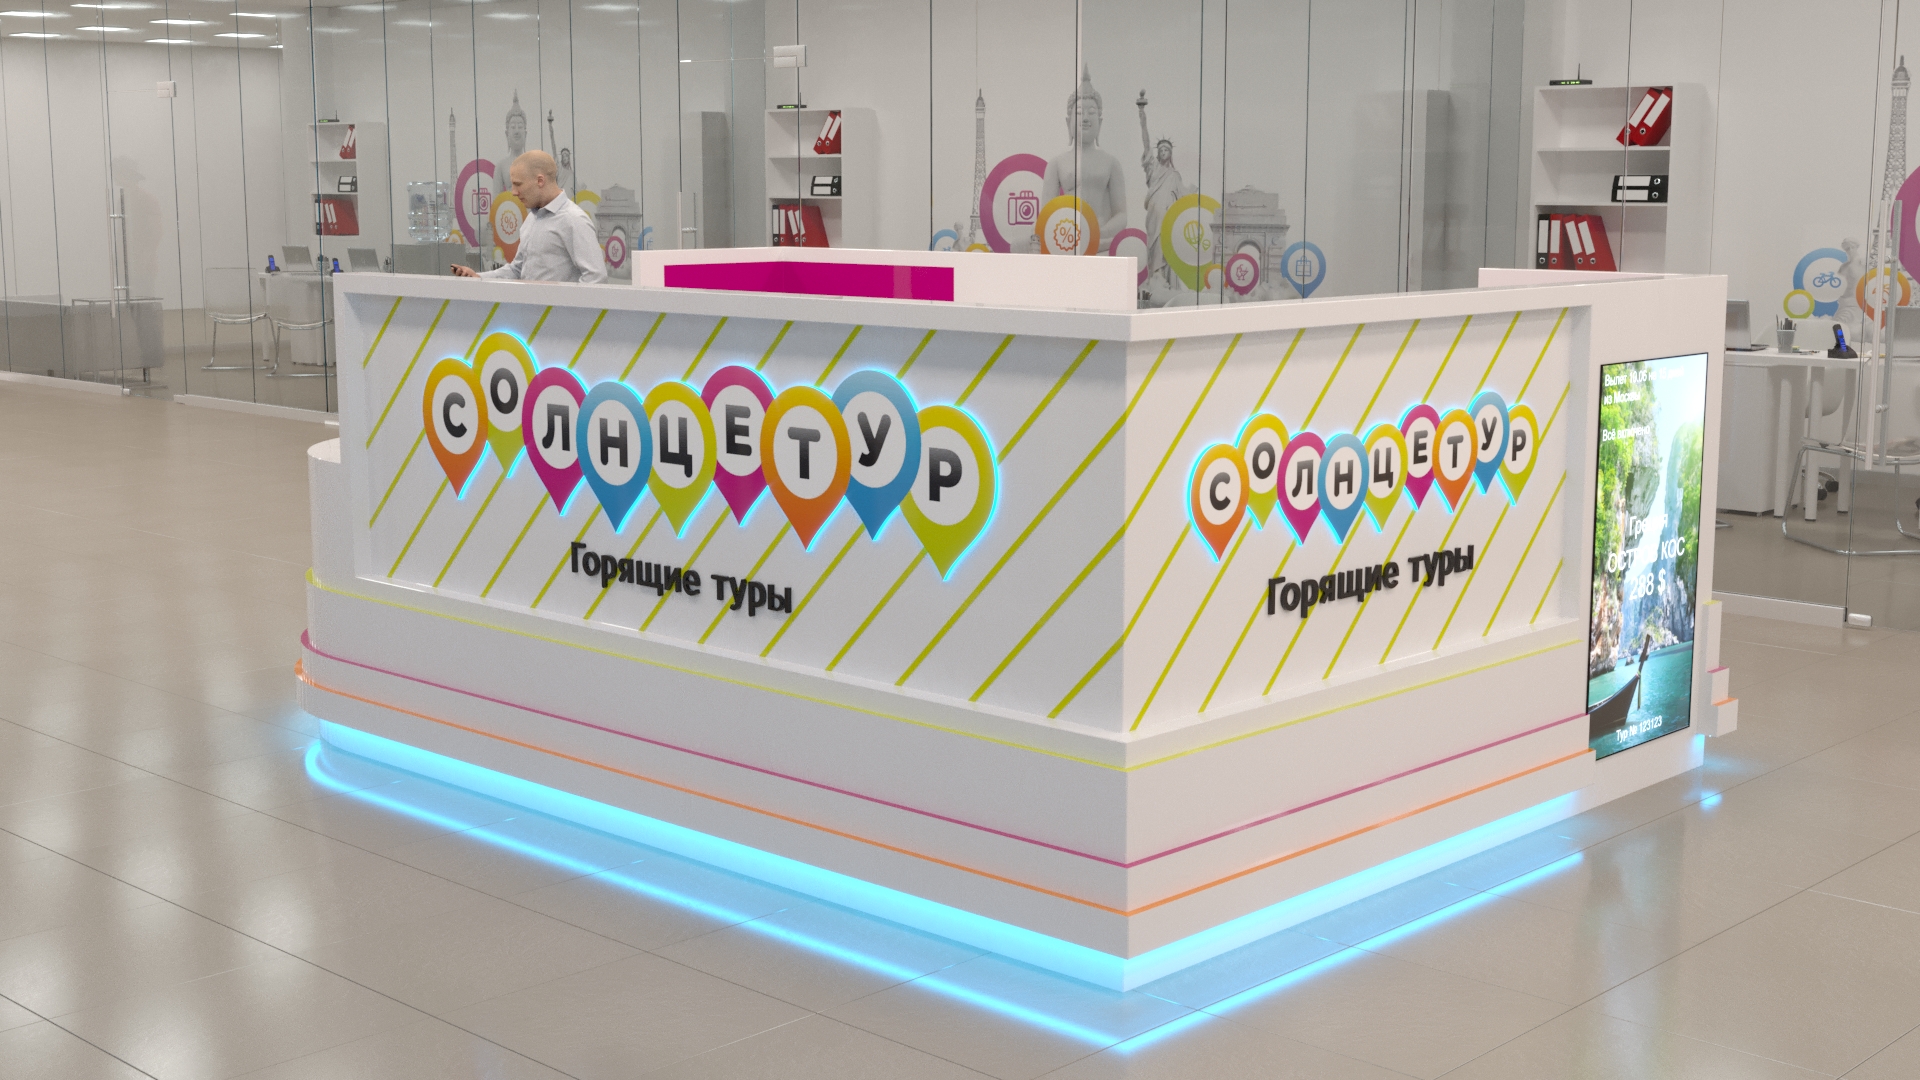
Our studio creates projects for islands and exhibition stands, from sketches to 3D visualizations and drawings in AutoCAD. An example of several of our works for the Solntseturn franchise is below:
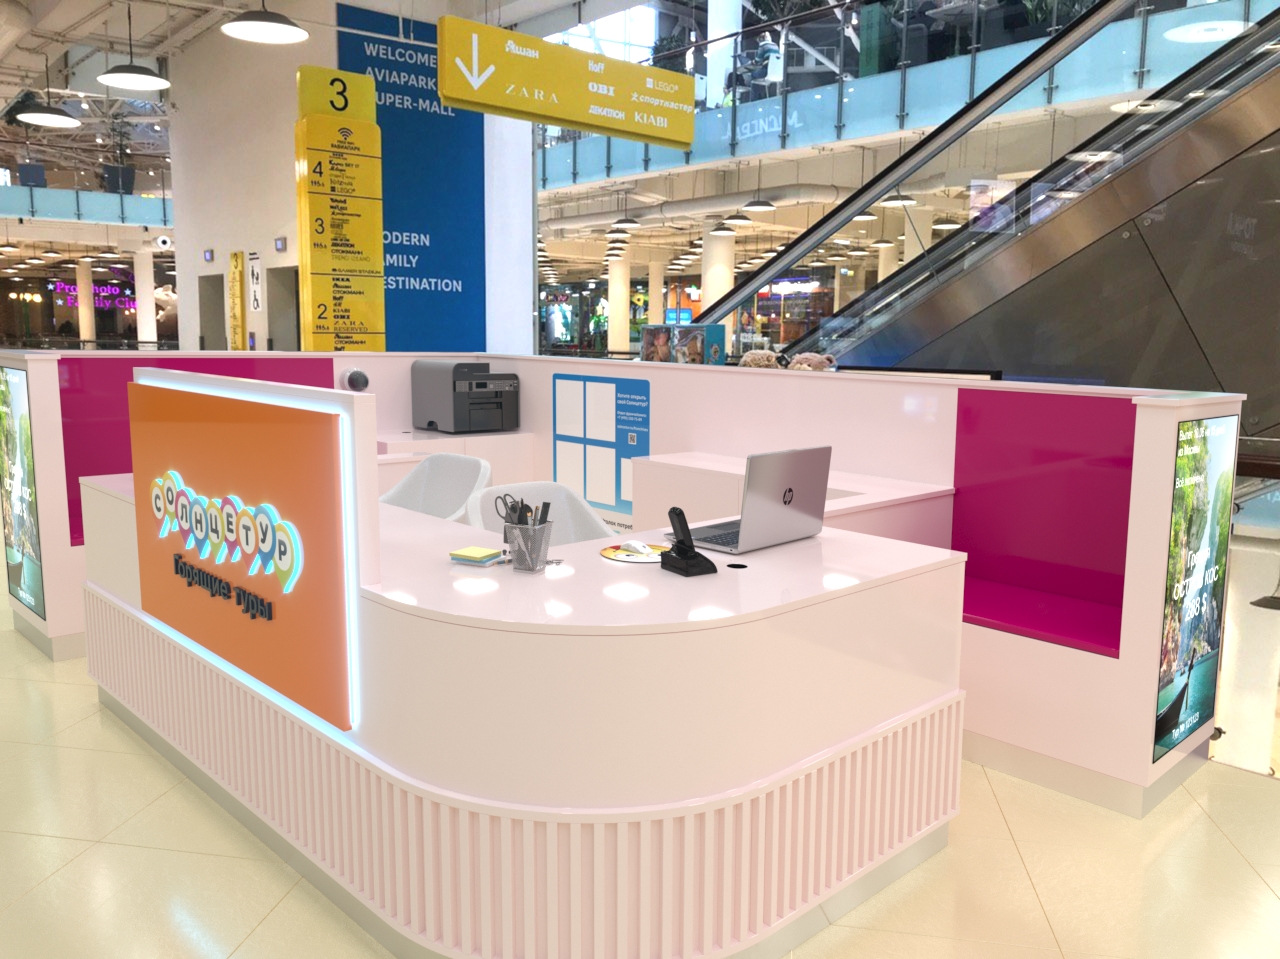
The 3d model is drawn to the actual scale in real photo.
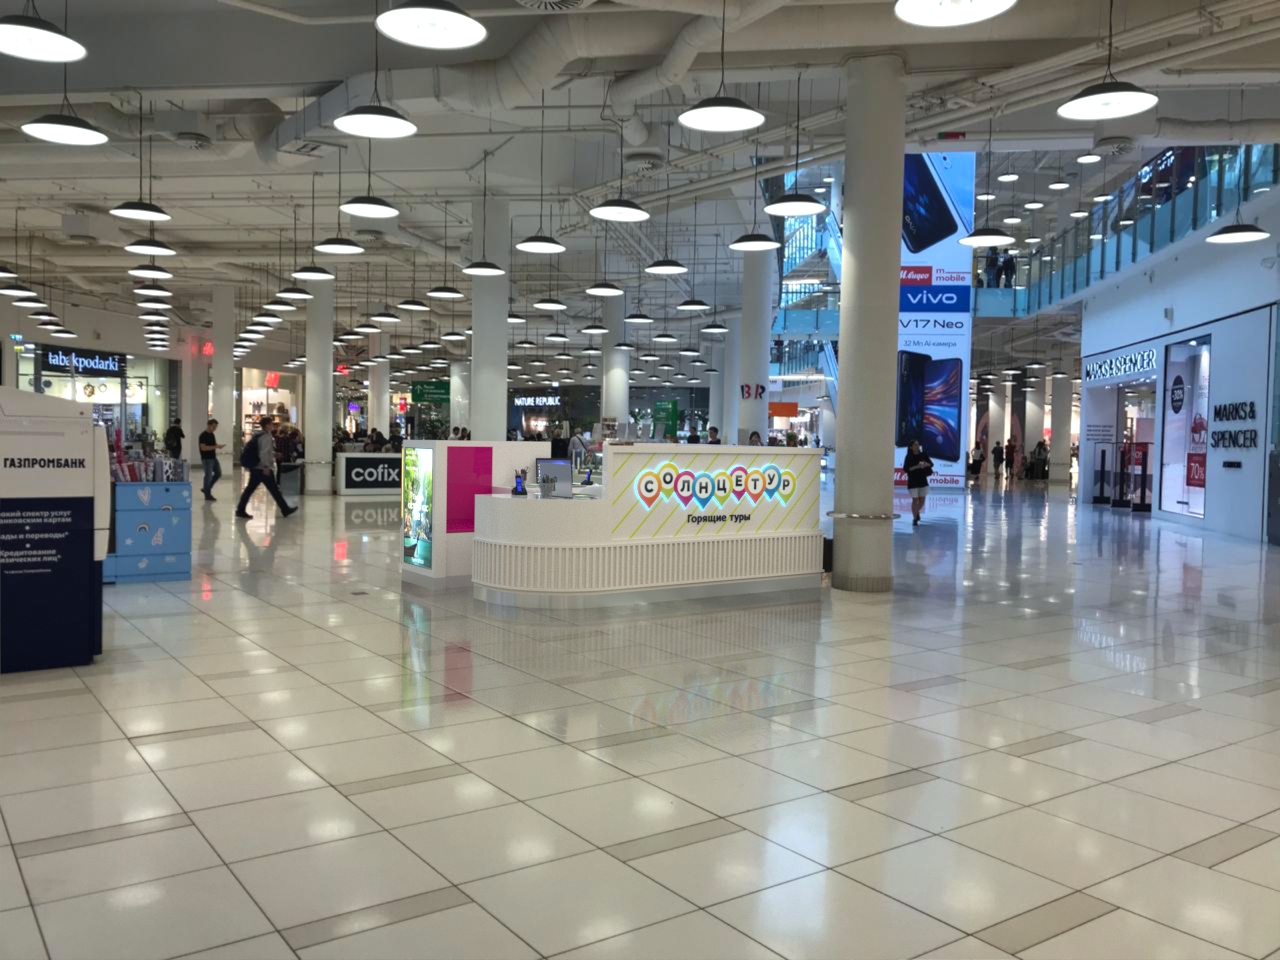
The 3d model is drawn to the actual scale in real photo.
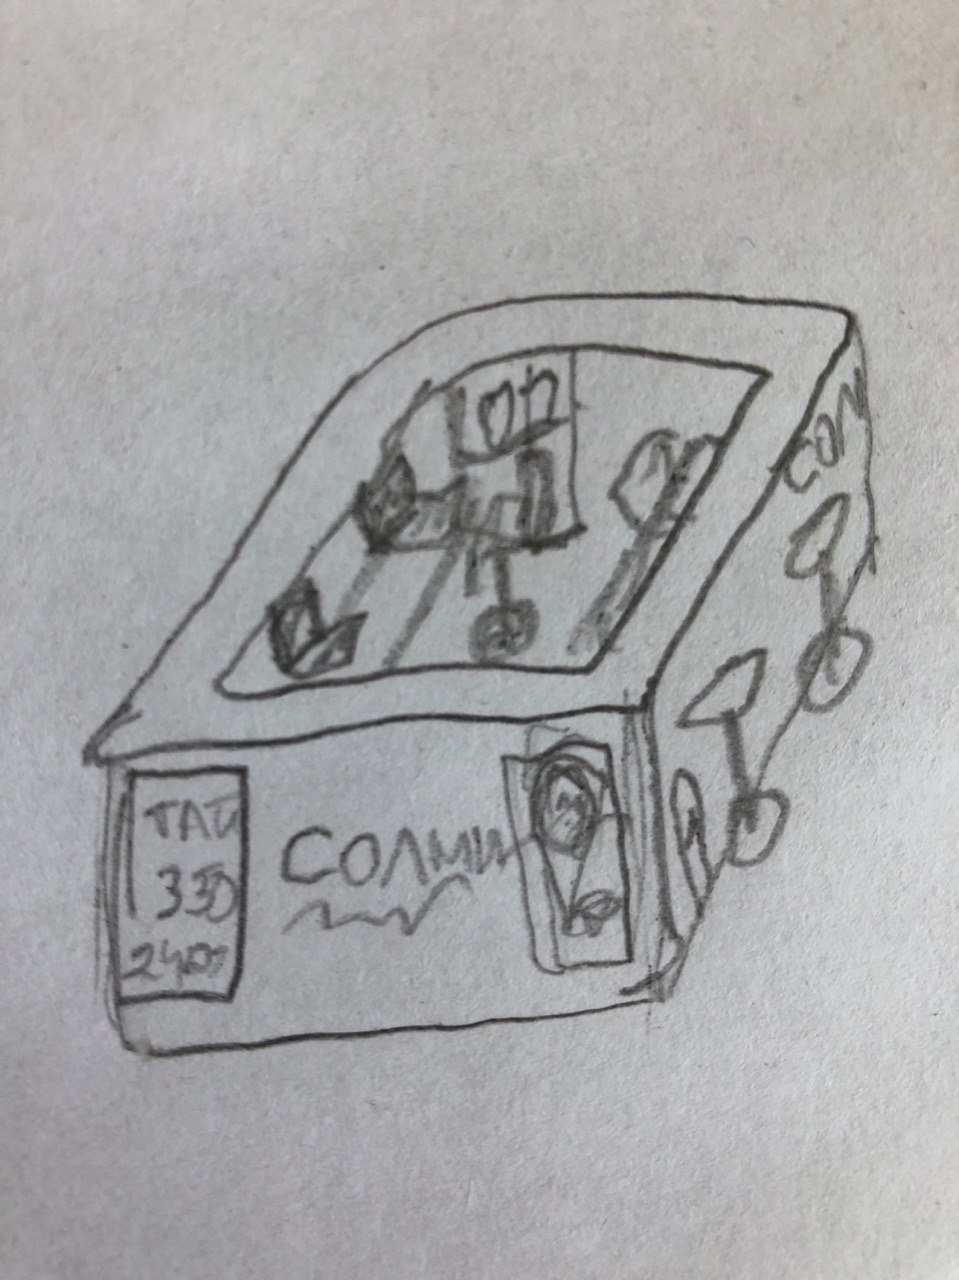
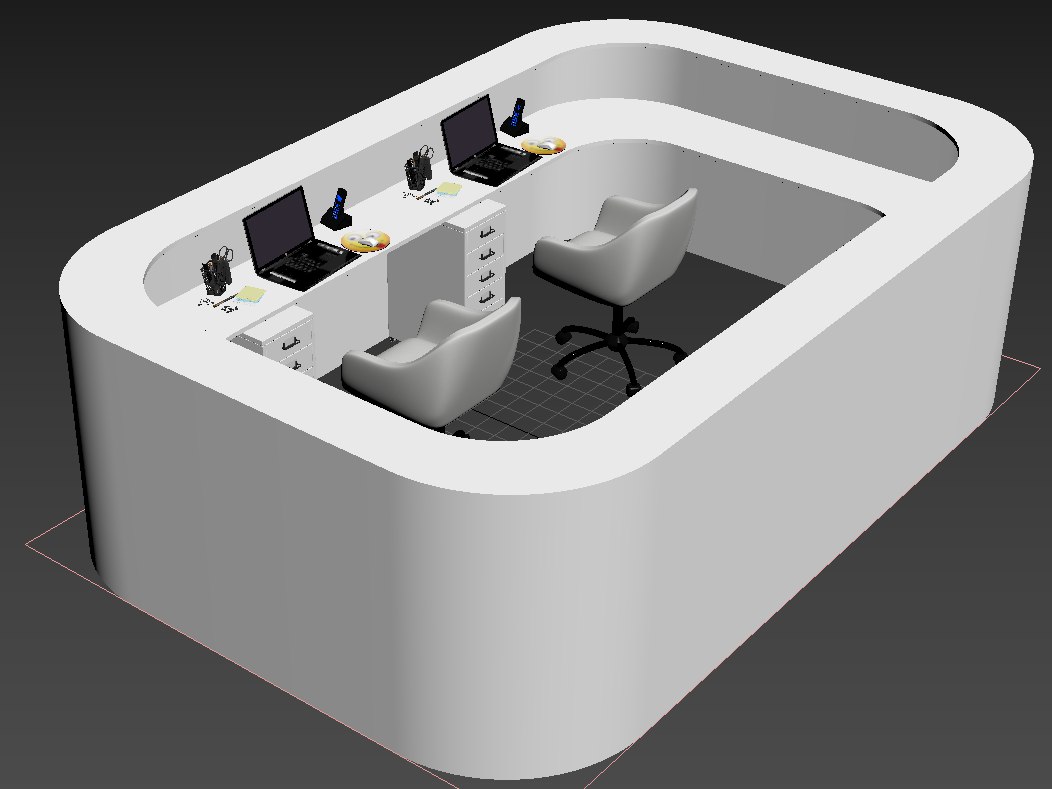
Development of a design project for an “island” for a shopping center from sketches to 3D visualization and drawing in AutoCAD.


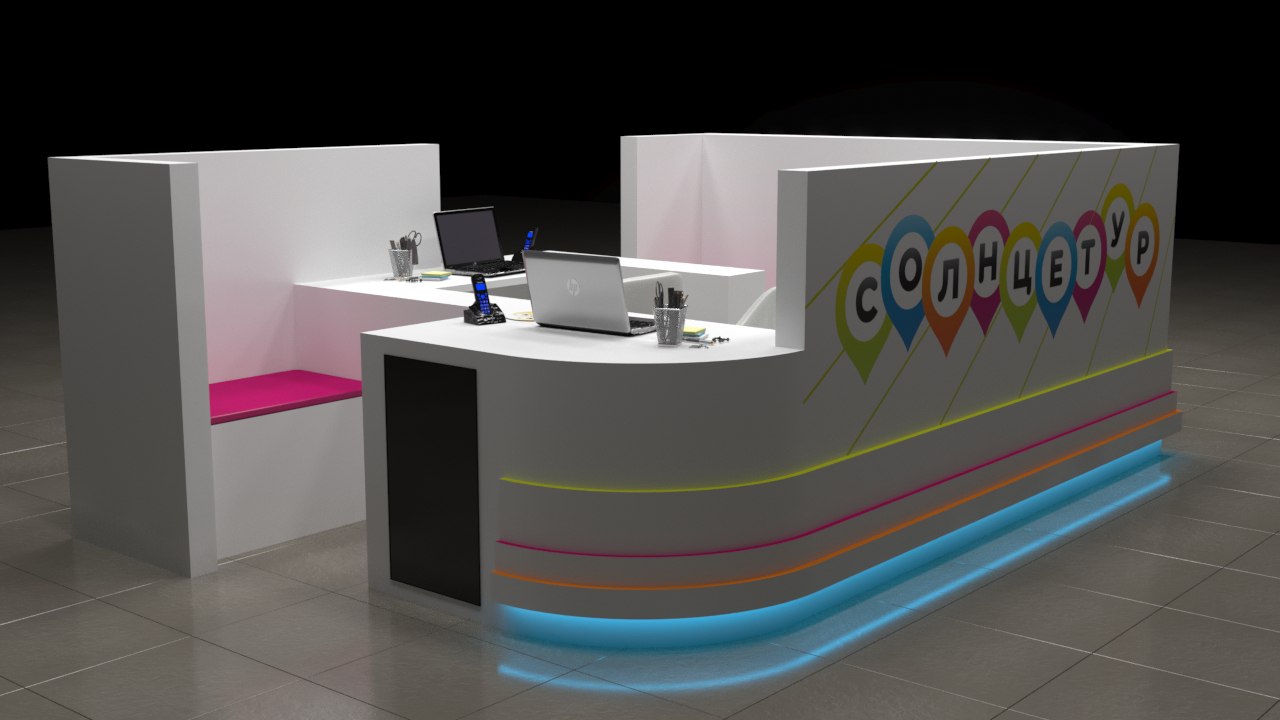


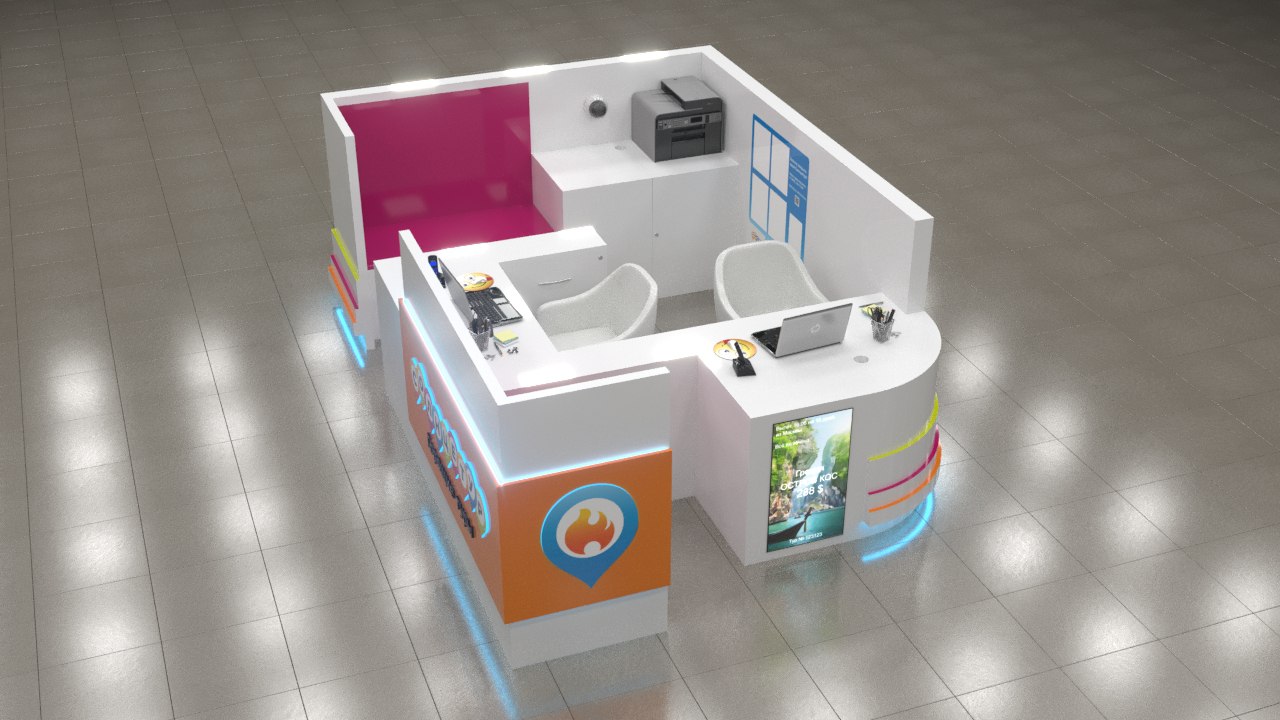


Order a turnkey island project - +7(985)468-80-21 or mail@andreykozlov.ru
Price:
Visualization of your concept based on your sketches and references - 20,000 rubles.
Visualization of your concept based on your sketches and references + video fly-by - RUR 30,000.
Express design, visualization and video fly-by, without your sketch, only based on references, without edits - 40,000 rubles.