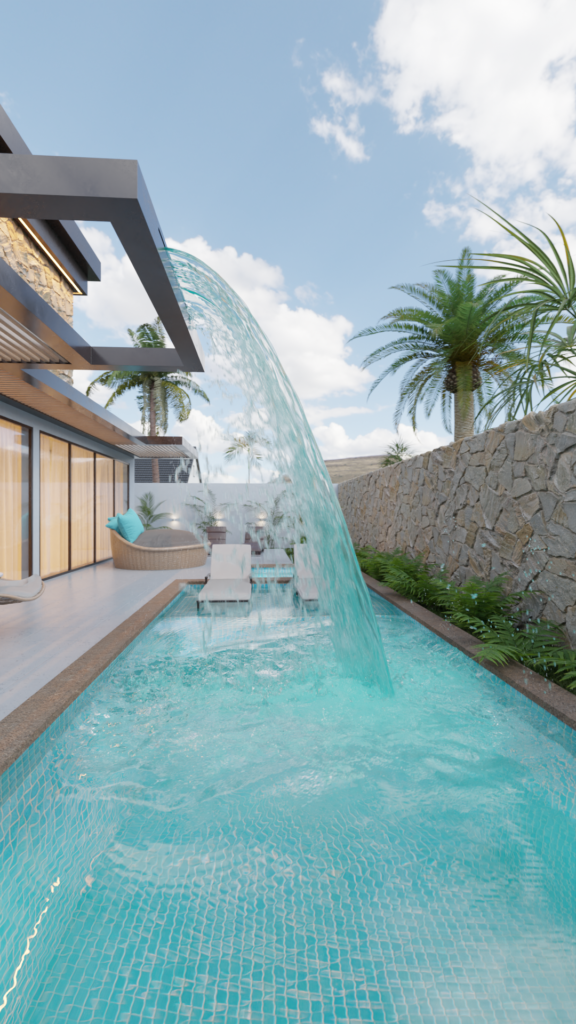
Задача — сделать 10 секунд симуляции жидкости высокой детализации для крупного плана в 60 кадров в секунду.
Потратив, примерно сутки на эксперименты и сравнение MantaFlow с Flip Fluis, я выбрал последнее, тк MantaFlow ведёт себя очень непредсказуемо, в зависимости от разрешения.
Прикинул, что вода достигнет поверхности бассейна за 50 кадров + нужно 10 секунд самой анимации в 60fps, получается симуляция 650 кадров с разрешением в 150 миллионов вокселей. Такая симуляция на Ryzen 3700x заняла 5 суток.
Далее выяснилось, что блендер вылетает на рендере, если геометрия в FlipFluids слишком высоко полигональная. Снова делать симуляцию в меньшем разрешении и снова ждать несколько дней, ну очень не хотелось. Потратил пару дней в поисках решения проблемы, даже начал задумываться вернуться к MantaFlow.
Перенастроил сцену из Cycles в Octane Render, проблема сохранилась, поэтому решил вернуться в Cycles.
Blender, вообще, отлично переваривает большое количество полигонов, проблема именно с геометрией FlipFluids. Разработчики аддона у себя на гитхабе признают проблему и пишут, что она на стороне блендера тк он плохо дружит с HighPoly геометрией сделанной на питоне или что-то типа того.
Я решил попробовать экспортировать геометрию в Alembic, что бы потом её импортировать назад, так с ней уже проблем быть не должно. По-разному попробовал экспортировать, но всегда это заканчивалось вылетом блендера. Один экспорт даже занял больше суток.
Потом на американском форуме я нашел решение, где было сказано, что в геометрии перед экспортом нужно просто поменять местами модификаторы и поставить модификатор Smooth вниз, после чего геометрия FlipFluids быстро экспортировалась в Alembic. Это сработало. Я экспортировал геометрию в Alembic, спрятал из рендера и вьюпорта оригинальную геометрию FlipFluids, но оставил пузырьки и пену и импортировал геометрию Alembic.
Был приятно удивлён, что Alembic геометрия сохранила информацию о скорости и MotionBlur на воде работал корректно и сцена теперь не вылетала. Точнее, уже вылетала не сразу же, а чуть позже.
Запустил рендер, вылетел он только на следующий день, через, примерно сотню кадров. Нормально, жить можно, просто перезапустил рендер с места, где он остановился.
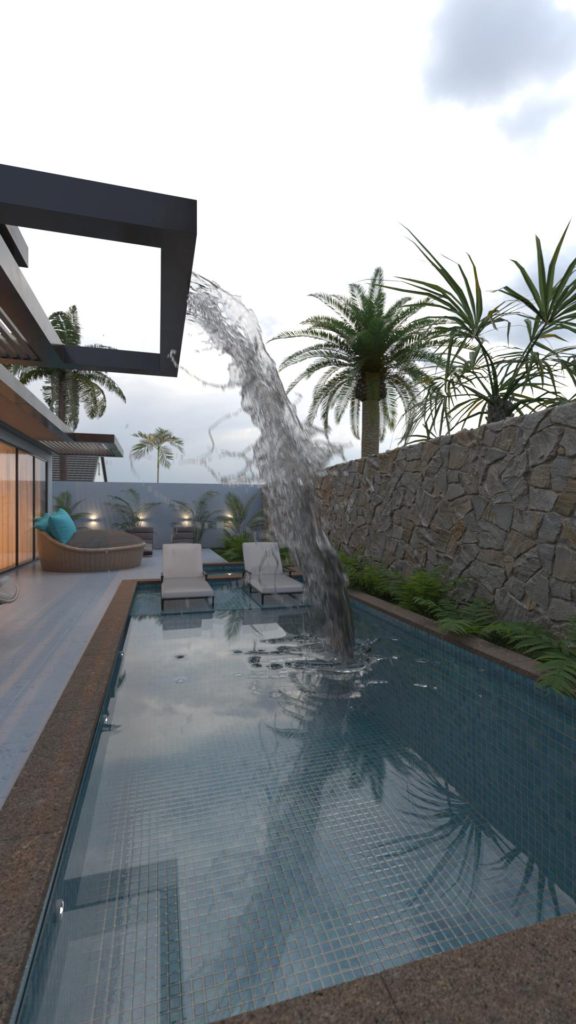
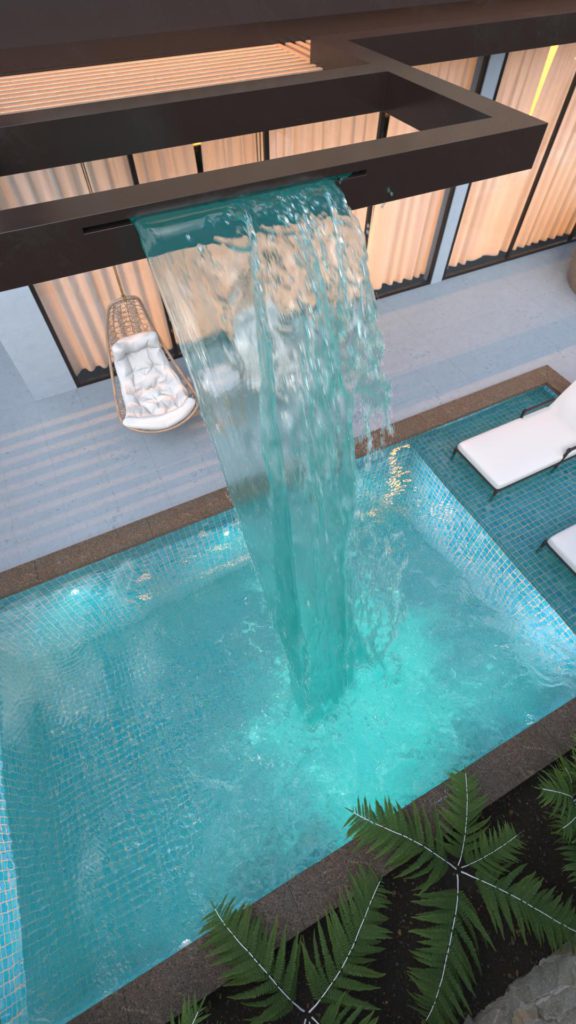
В месте соприкосновения струи с поверхностью воды, жидкость выглядит тёмной. Совсем не «голубая лагуна». Проблема в ограничениях технологии PathTracing. В этом месте происходит огромное количество отражений и преломлений от поверхности воды и пузырьков, а рендер считает максимум 12 переотражений, а дальше рисует черноту. Можно, конечно, поставить не 12, а 128, 1024 и тд, но тогда и результат рендера мы будем ждать месяцы. Поэтому добавил бирюзового самосвечения к пузырькам и в 10 меньше такого же самосвечения самой воде. Косяк ушёл, время рендера не изменилось. Рендерю с начала. Заодно, решил начинать не с 50 кадра, а с 100, где на поверхности воды уже видны колебания. Так же добавил яркость источникам света и немного тумана воде.
Спустя некоторое время тестов, я заметил, что в Blender 3.5, сцена ведёт себя гораздо стабильнее, чем в версии 3.6, решил продолжить работу в ней. Материалы с картой Mix пришлось перенастроить, тк в версии 3,6 она работает иначе, и придётся перерендерить первые кадры, тк теперь некоторые материалы выглядят чуть по-другому.
Ещё через день, посмотрел первые секунды получившейся анимации и заметил, что растения колышутся от ветра не так, как я задумал, на ветках нет текстуры и пропала трава. Проблема в том, что я делал проект на ноутбуке, а симуляцию и рендер на ПК, а на ПК на версии 3,5, стояла старая версия аддонов растительности. Переустановил аддон растительности, перенастроил растительность. Переустановил плагин для травы, перенастроил траву. Поставил анимацию рендериться заново.
Открыл для себя программу Batch Render Creator, благодаря ей, количество вылетов во время рендера сократилось ещё больше.
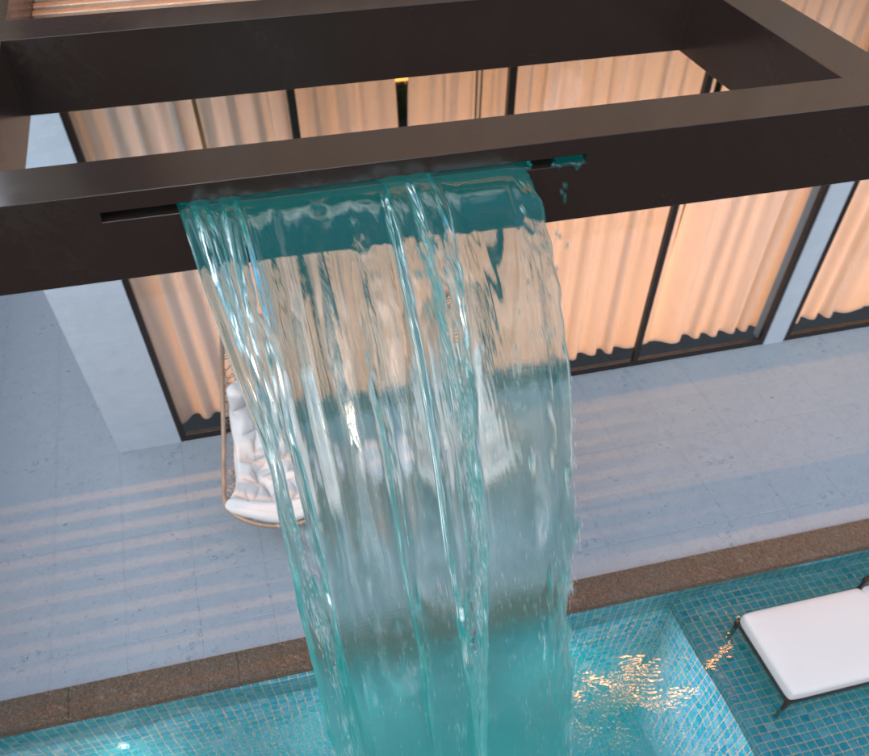
Самосвечение в этом ракурсе, около тёмной щели, откуда вытекает вода — выглядит не очень. К сожалению, в блендере нет карты Distance, которая есть в 3ds Max и Corona, поэтому придётся ещё раз отрендерить вариант без самосвечения и замиксовать их в AfterEffecs, что бы в районе щели самосвечения не было, а в остальных местах было.
Были ещё и другие проблемы, например с положением камеры, тк я сместил начало анимации с 50 на 100 кадр, тоже пришлось перерендерить часть. И с Geometry Nodes пришлось повозиться, что бы обрезать дно у воды, тк симуляцию я делал не на всю глубину бассейна.
В ответ потенциальным критикам, которые никогда ничего подобного не делали, но считают, что в гудини или PhoenixFD проблем меньше и можно всё сделать быстрее, предлагаю вам сначала сделать симуляцию 150+ млн вокселей и отрендерить её на GPU вместе с анимированной растительностью и дисплейсментом, а потом написать, сколько времени у вас это заняло и с какими нюансами и несовместимостями столкнулись.


![Seq[(000001)19-18-29]](http://andreykozlov.ru/wp-content/uploads/2014/08/Seq00000119-18-29.jpg)